Crafting My Personal Website: Jekyll, GitHub Pages, and a Custom Domain
UPD: you can read [here](https://andlukyane.com/blog/redesigning-my-personal-website how I updated the website.
For a couple of years, I had been contemplating the creation of a personal website but found myself procrastinating. As I considered various options for crafting an appealing and functional site, I came to several conclusions:
- Use WordPress - but I’ve never been a fan of it;
- Utilize website builders like Wix - while they can create beautiful sites, they lack flexibility;
- Build a site from scratch - a suitable choice for web developers but would require extensive learning for me;
- Create a basic site with GitHub Pages - an interesting idea, but achieving an attractive design would be time-consuming.
- Use a static site generator like Jekyll or Hugo - this was the option I ultimately chose;
Working with Jekyll presented its challenges, particularly as most tutorials assume a local Ruby setup. Starting from scratch also proved to be quite an undertaking. That’s why I decided to “cheat”.
In this blog post, I’ll provide only a high-level overview of how I created my website as it was two years ago, and some details might have faded from my memory.
Embracing Jekyll Themes for a Professional Look
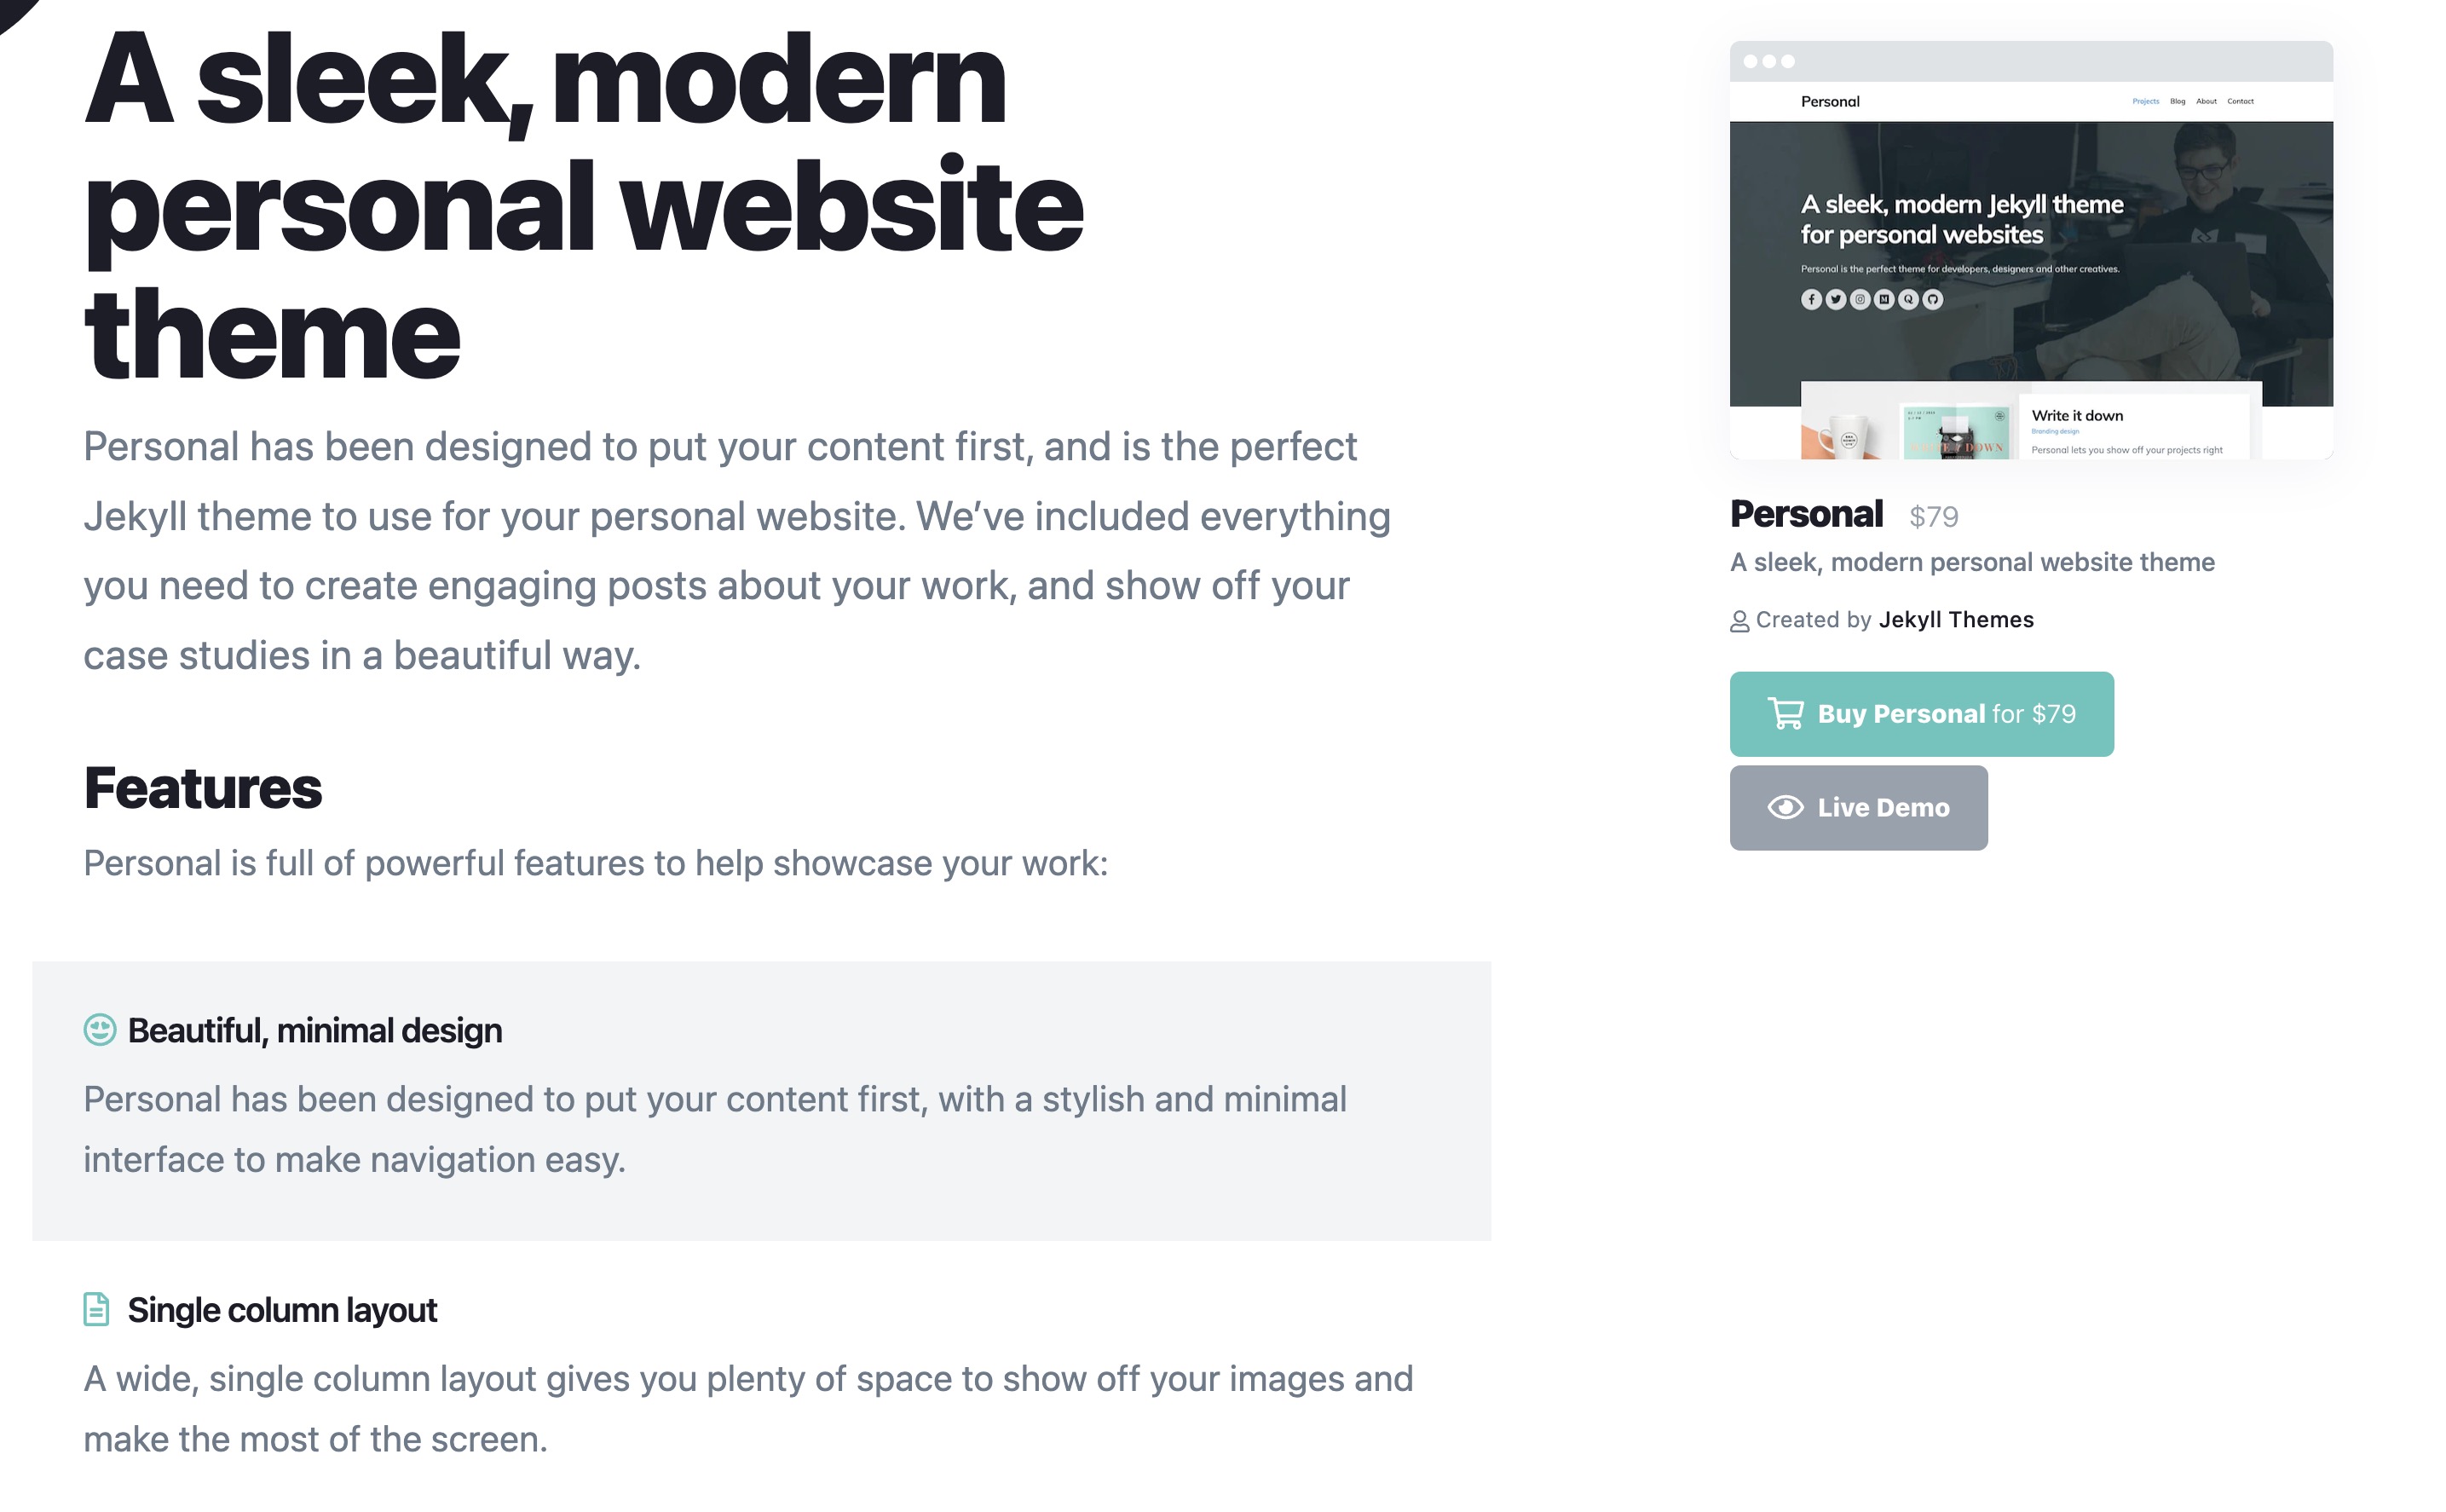
To give my site a professional look without spending too much time on design, I opted for a premade Jekyll theme. I found the perfect one for my needs on jekyllthemes.io called Personal Website Jekyll Theme. After purchasing the theme, I downloaded the files and followed the accompanying documentation to create my Jekyll site.
While it is possible to set up the theme locally for debugging purposes, I opted to bypass that step.
Hosting with GitHub Pages
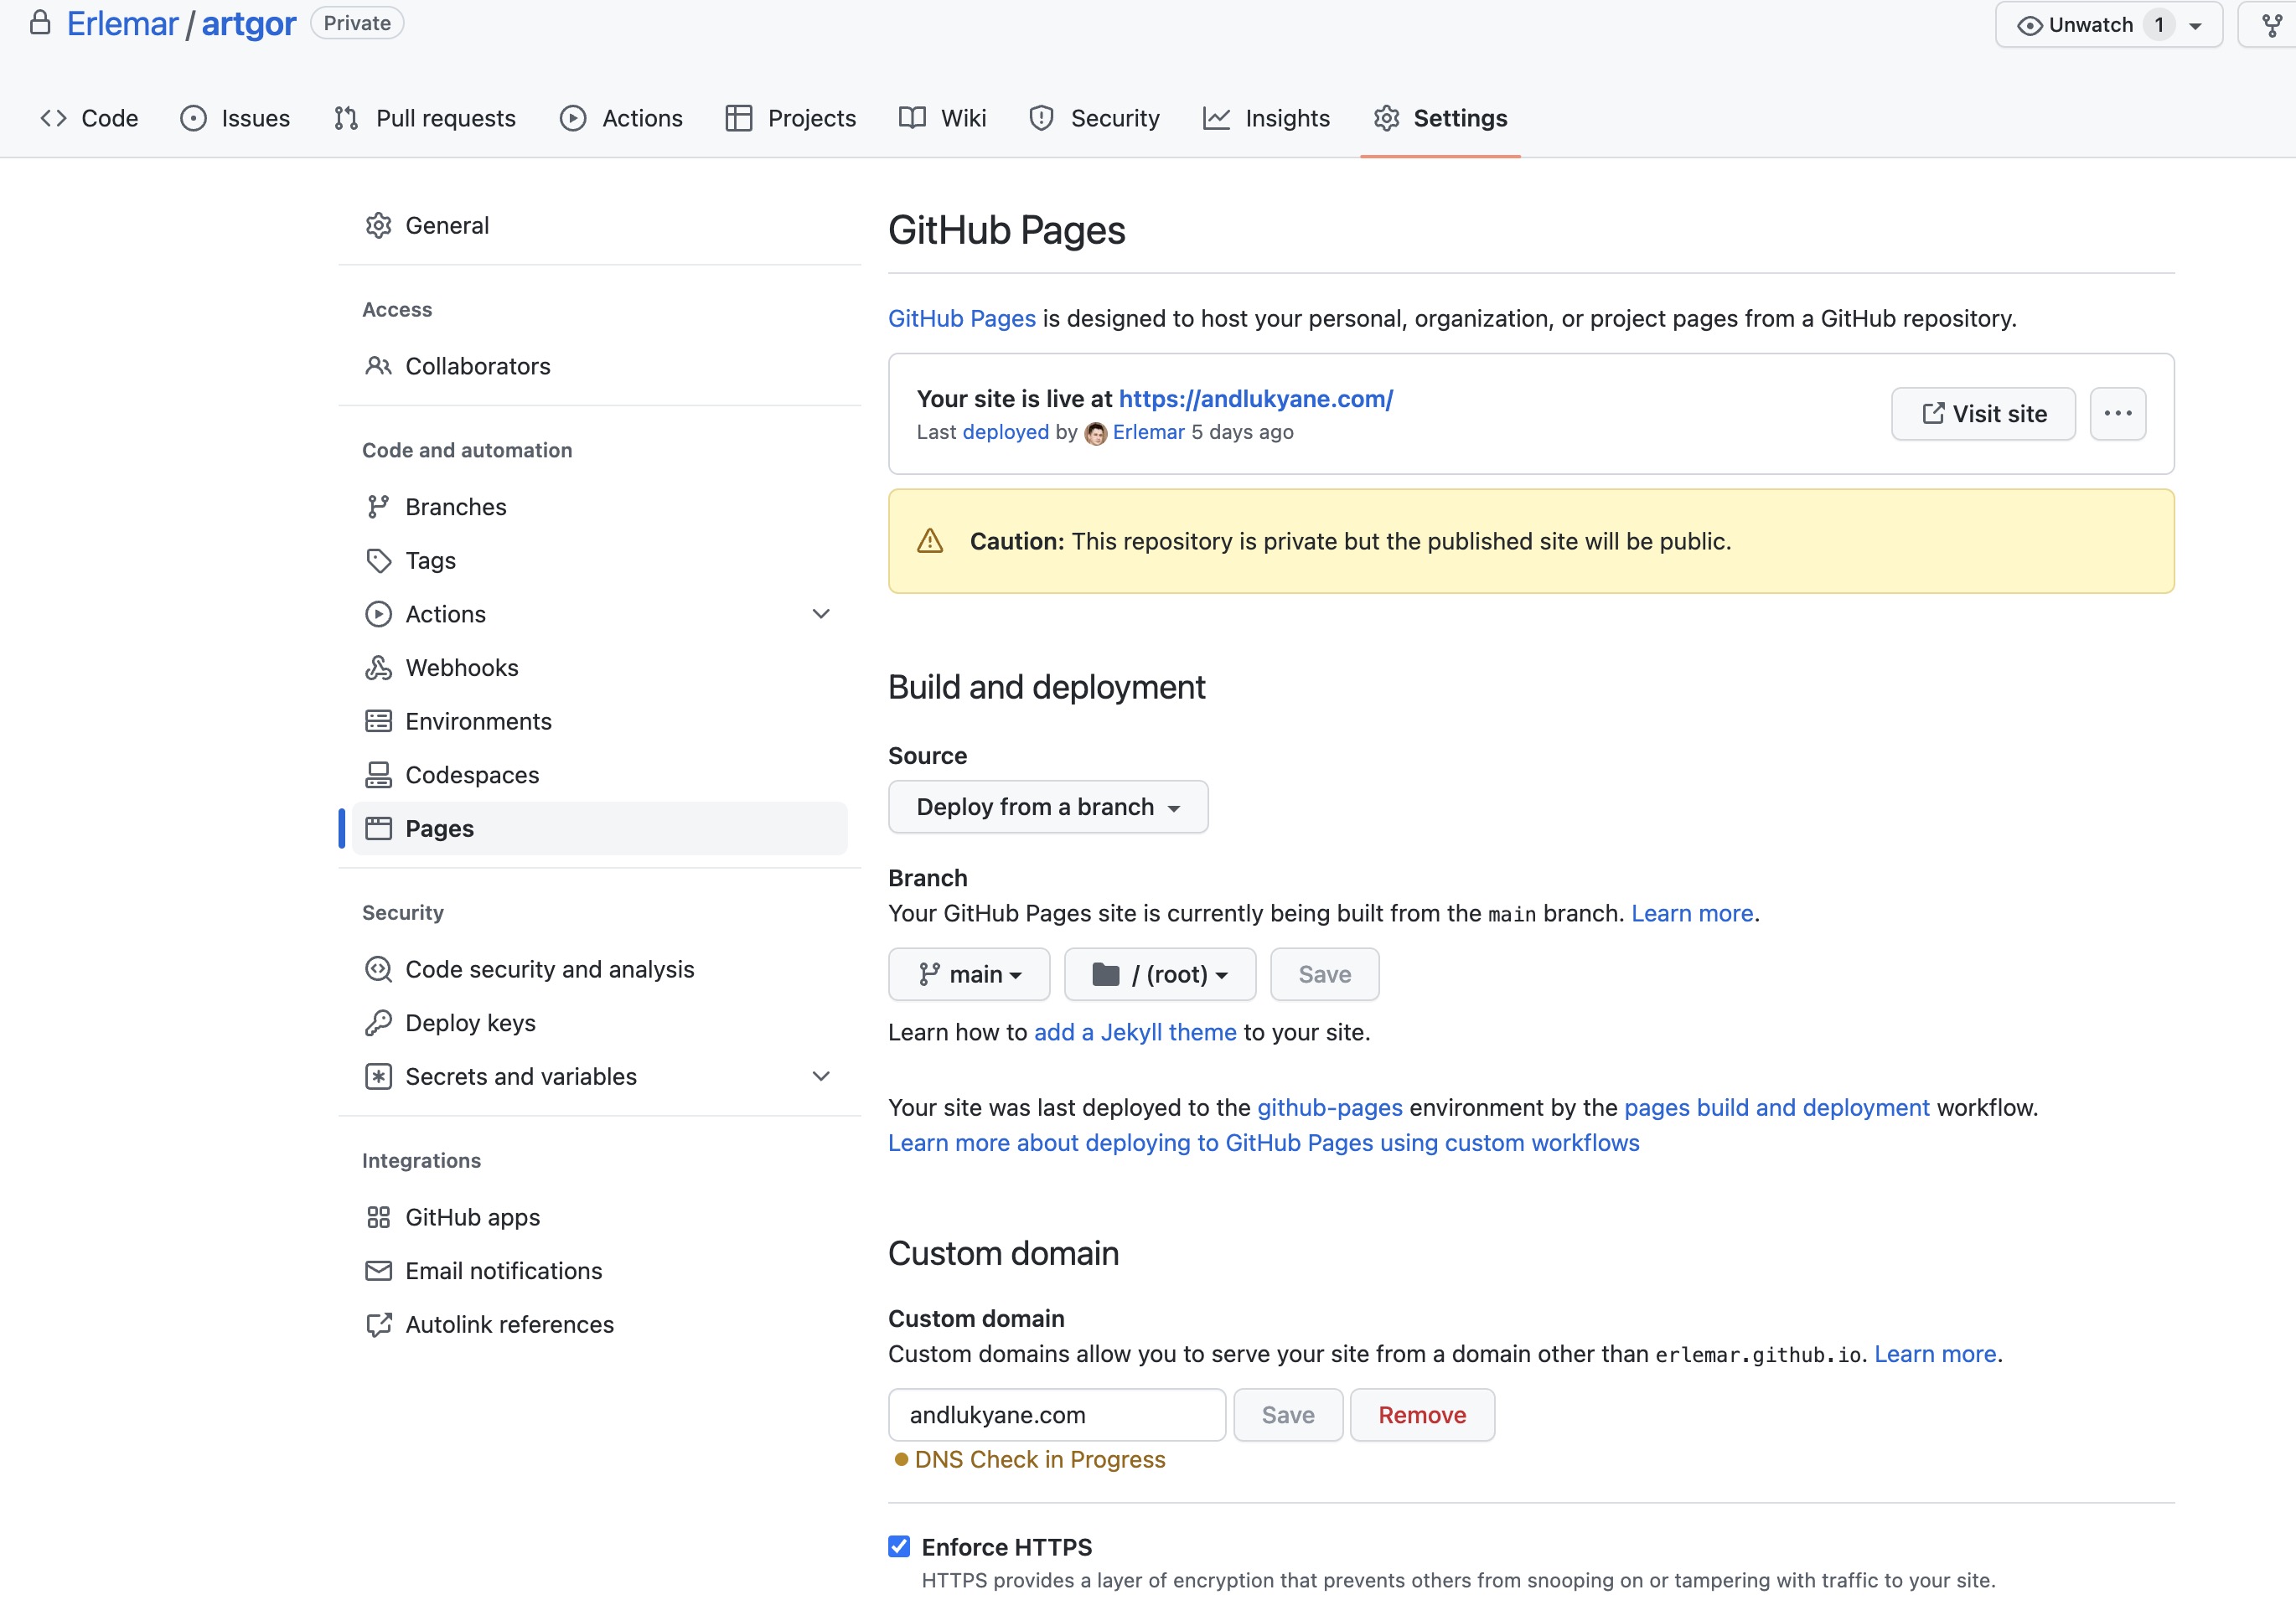
To simplify hosting, I built my site using GitHub Pages, effectively making my website a private GitHub repository. This platform offers a hassle-free hosting solution for Jekyll sites, allowing me to concentrate on content and customization.
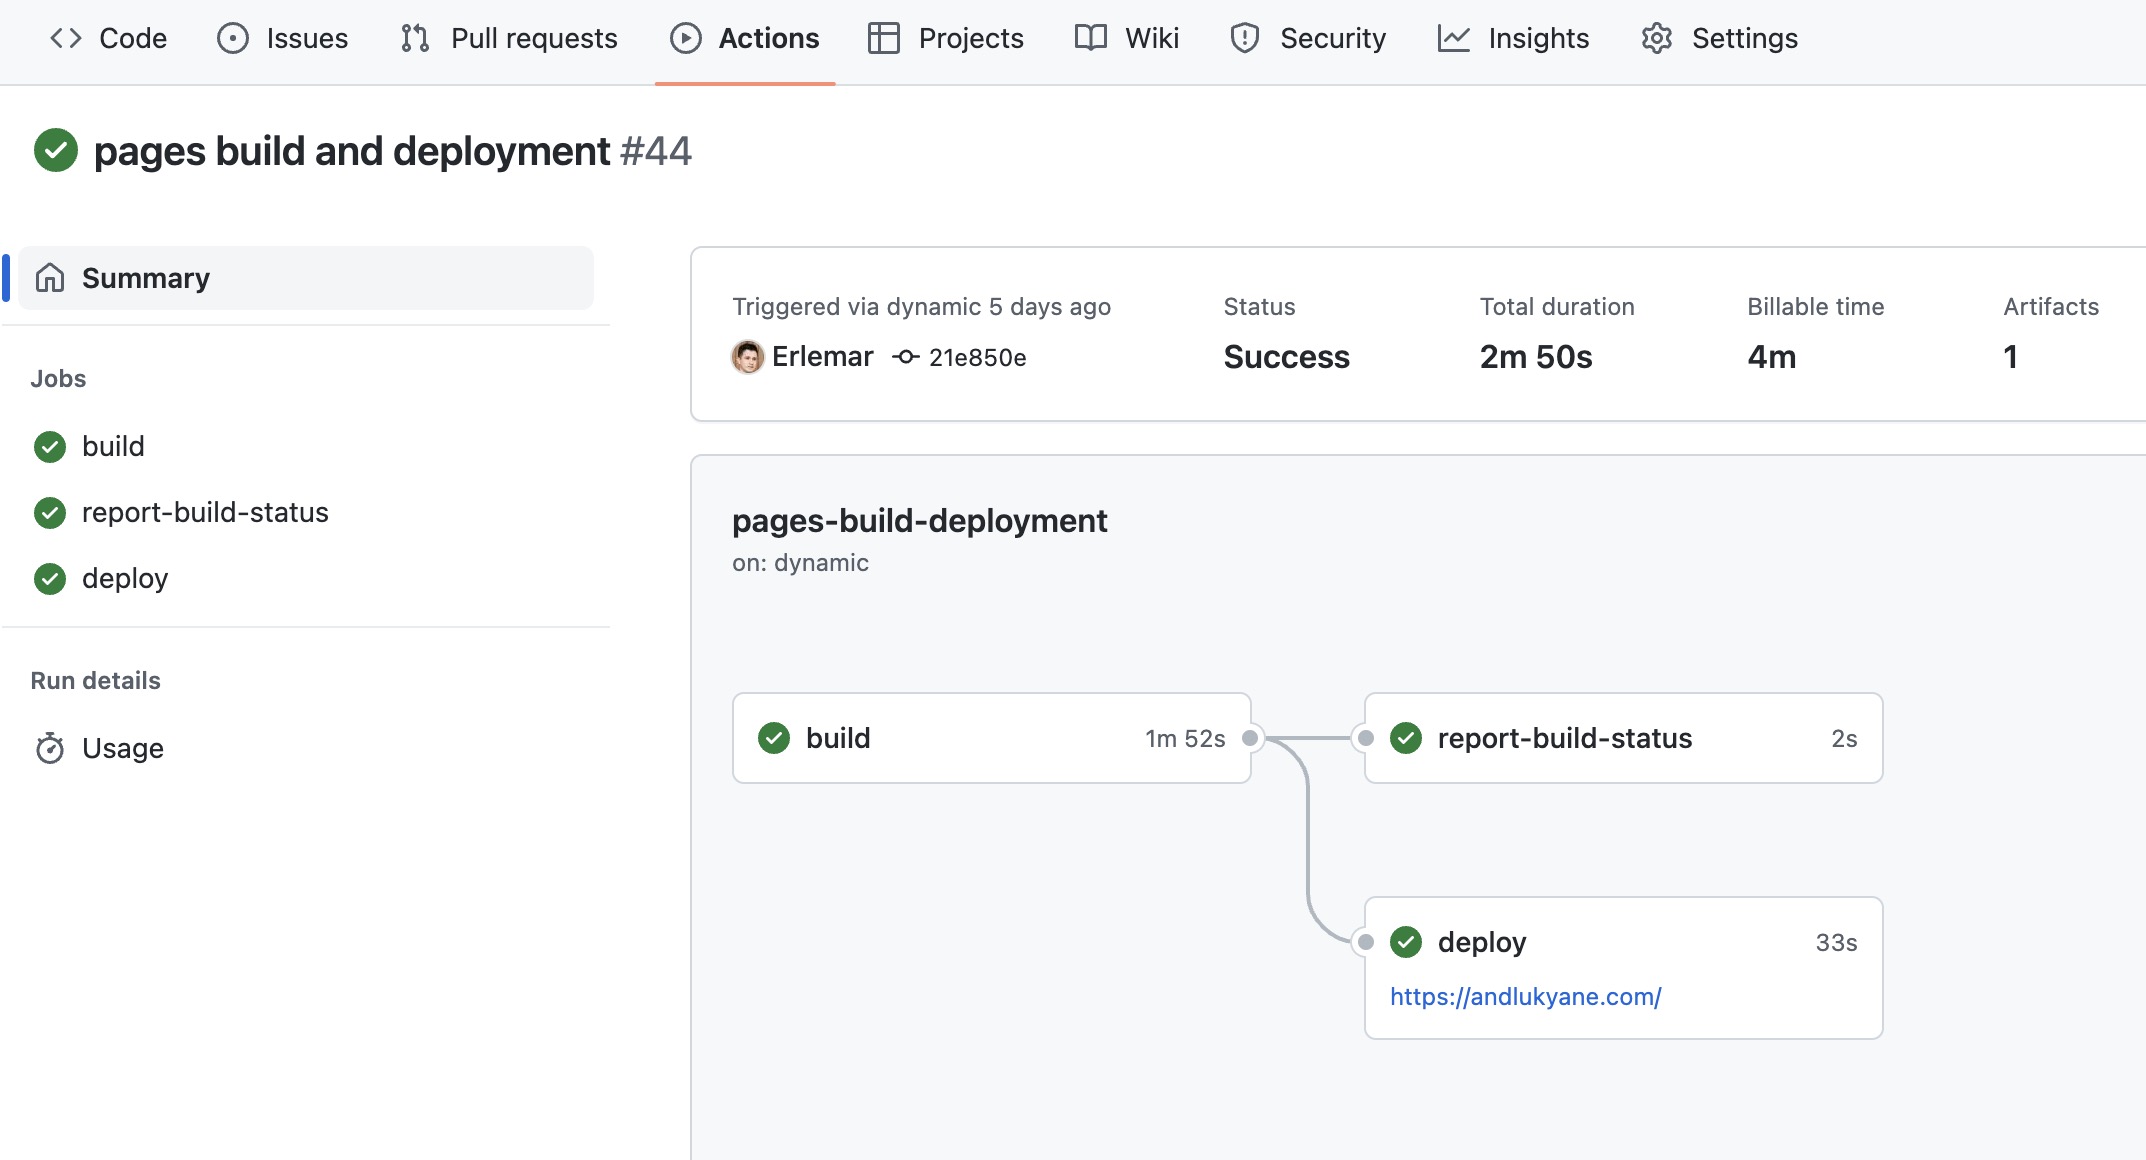
Whenever I make changes and commit them, an automatic build is triggered, and I can monitor the progress on the actions page.
Custom domain instead of a pre-generated URL
To make my site look more professional, I decided to use a custom domain. So, I purchased a domain from GoDaddy and followed their documentation to set up a custom domain for my GitHub Pages site. This involved configuring my DNS settings to point my domain to GitHub’s servers and adding a CNAME file to my Jekyll site’s repository.
Customizing the website and adding the content
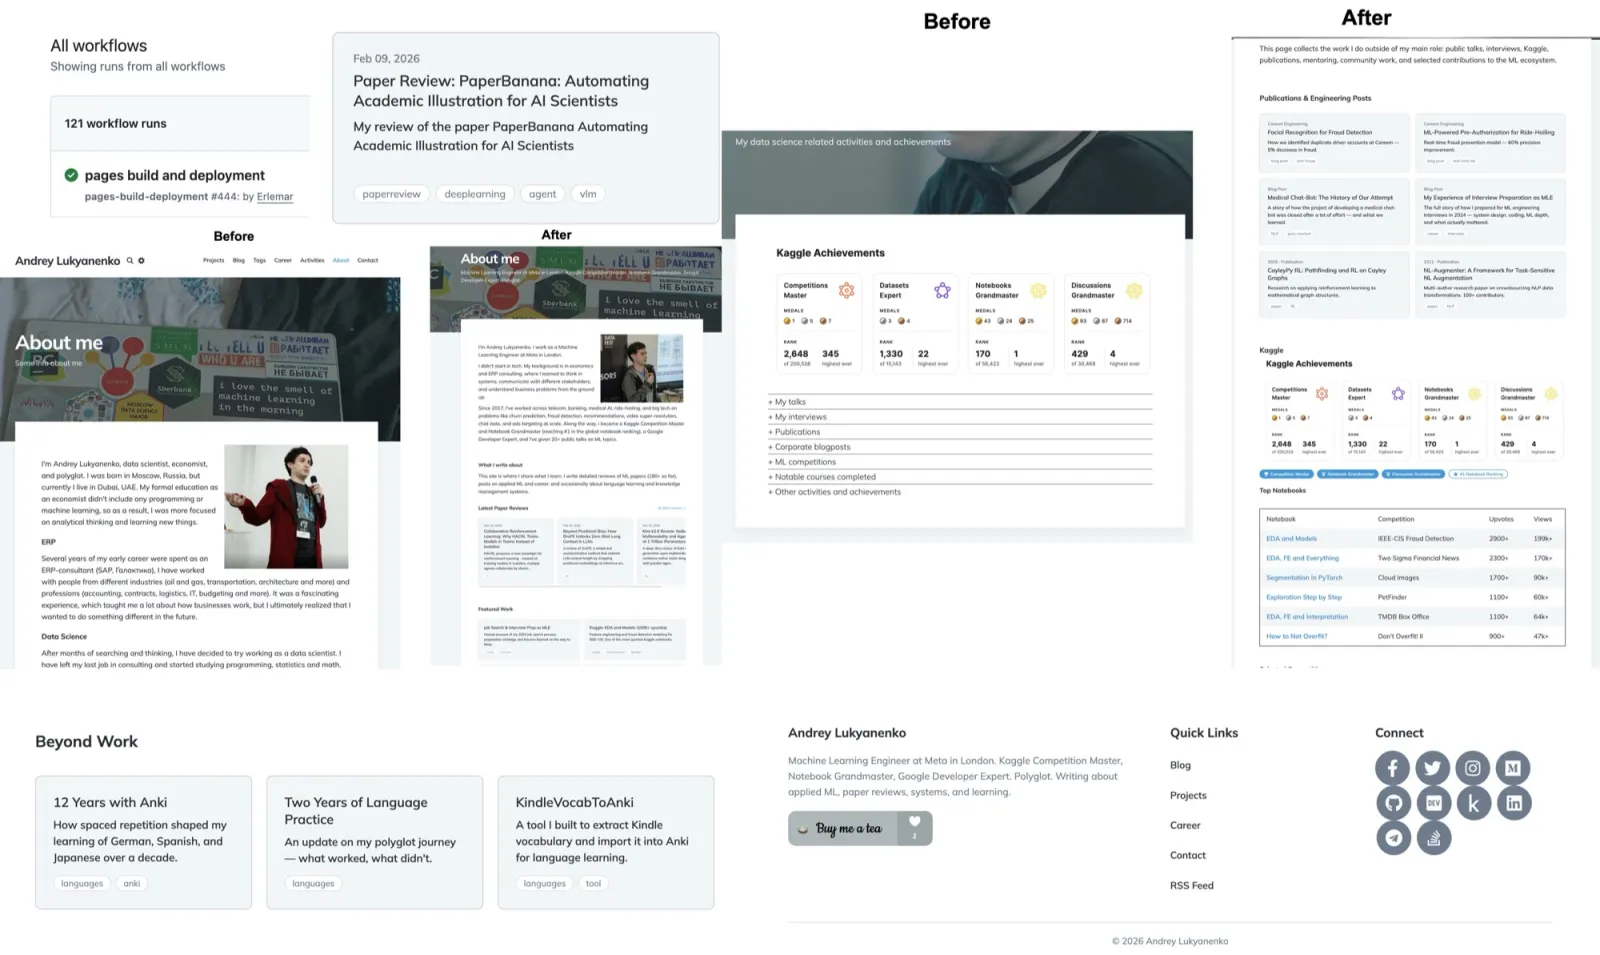
Once the theme was in place, it was time to tailor it to my preferences. The theme offered a variety of customization options, including color schemes, typography, and layout settings. I spent some time adjusting these options in the theme’s _config.yml file and the corresponding SCSS files, ensuring the site looked tailored to my preferences.
Following the customization process, I set about adding content to my website. I created pages for my portfolio, “About Me,” and contact information, as well as blog posts to showcase my work and insights. Inserting content into a Jekyll site is as straightforward as generating Markdown files in the relevant directories. To create a new blog post, for instance, I would add a Markdown file to the _posts folder using this naming convention: YEAR-MONTH-DAY-title.md. While it is possible to use HTML files, I seldom found it necessary.
Some notable modifications I implemented include the following:
- Introducing a timeline: I invested considerable time exploring ways to incorporate a timeline for my job history, ultimately opting for this solution. Although not overly elaborate, it serves its purpose well.
- Adding tags to blog posts: Surprisingly, this was far from trivial. I didn’t find many blog posts available on the topic, and some of the proposed solutions weren’t useful in my case, so I ultimately utilized this guide) and made a few adjustments.
- Incorporating comments: Setting up comments took some effort, but the final code appears as follows:
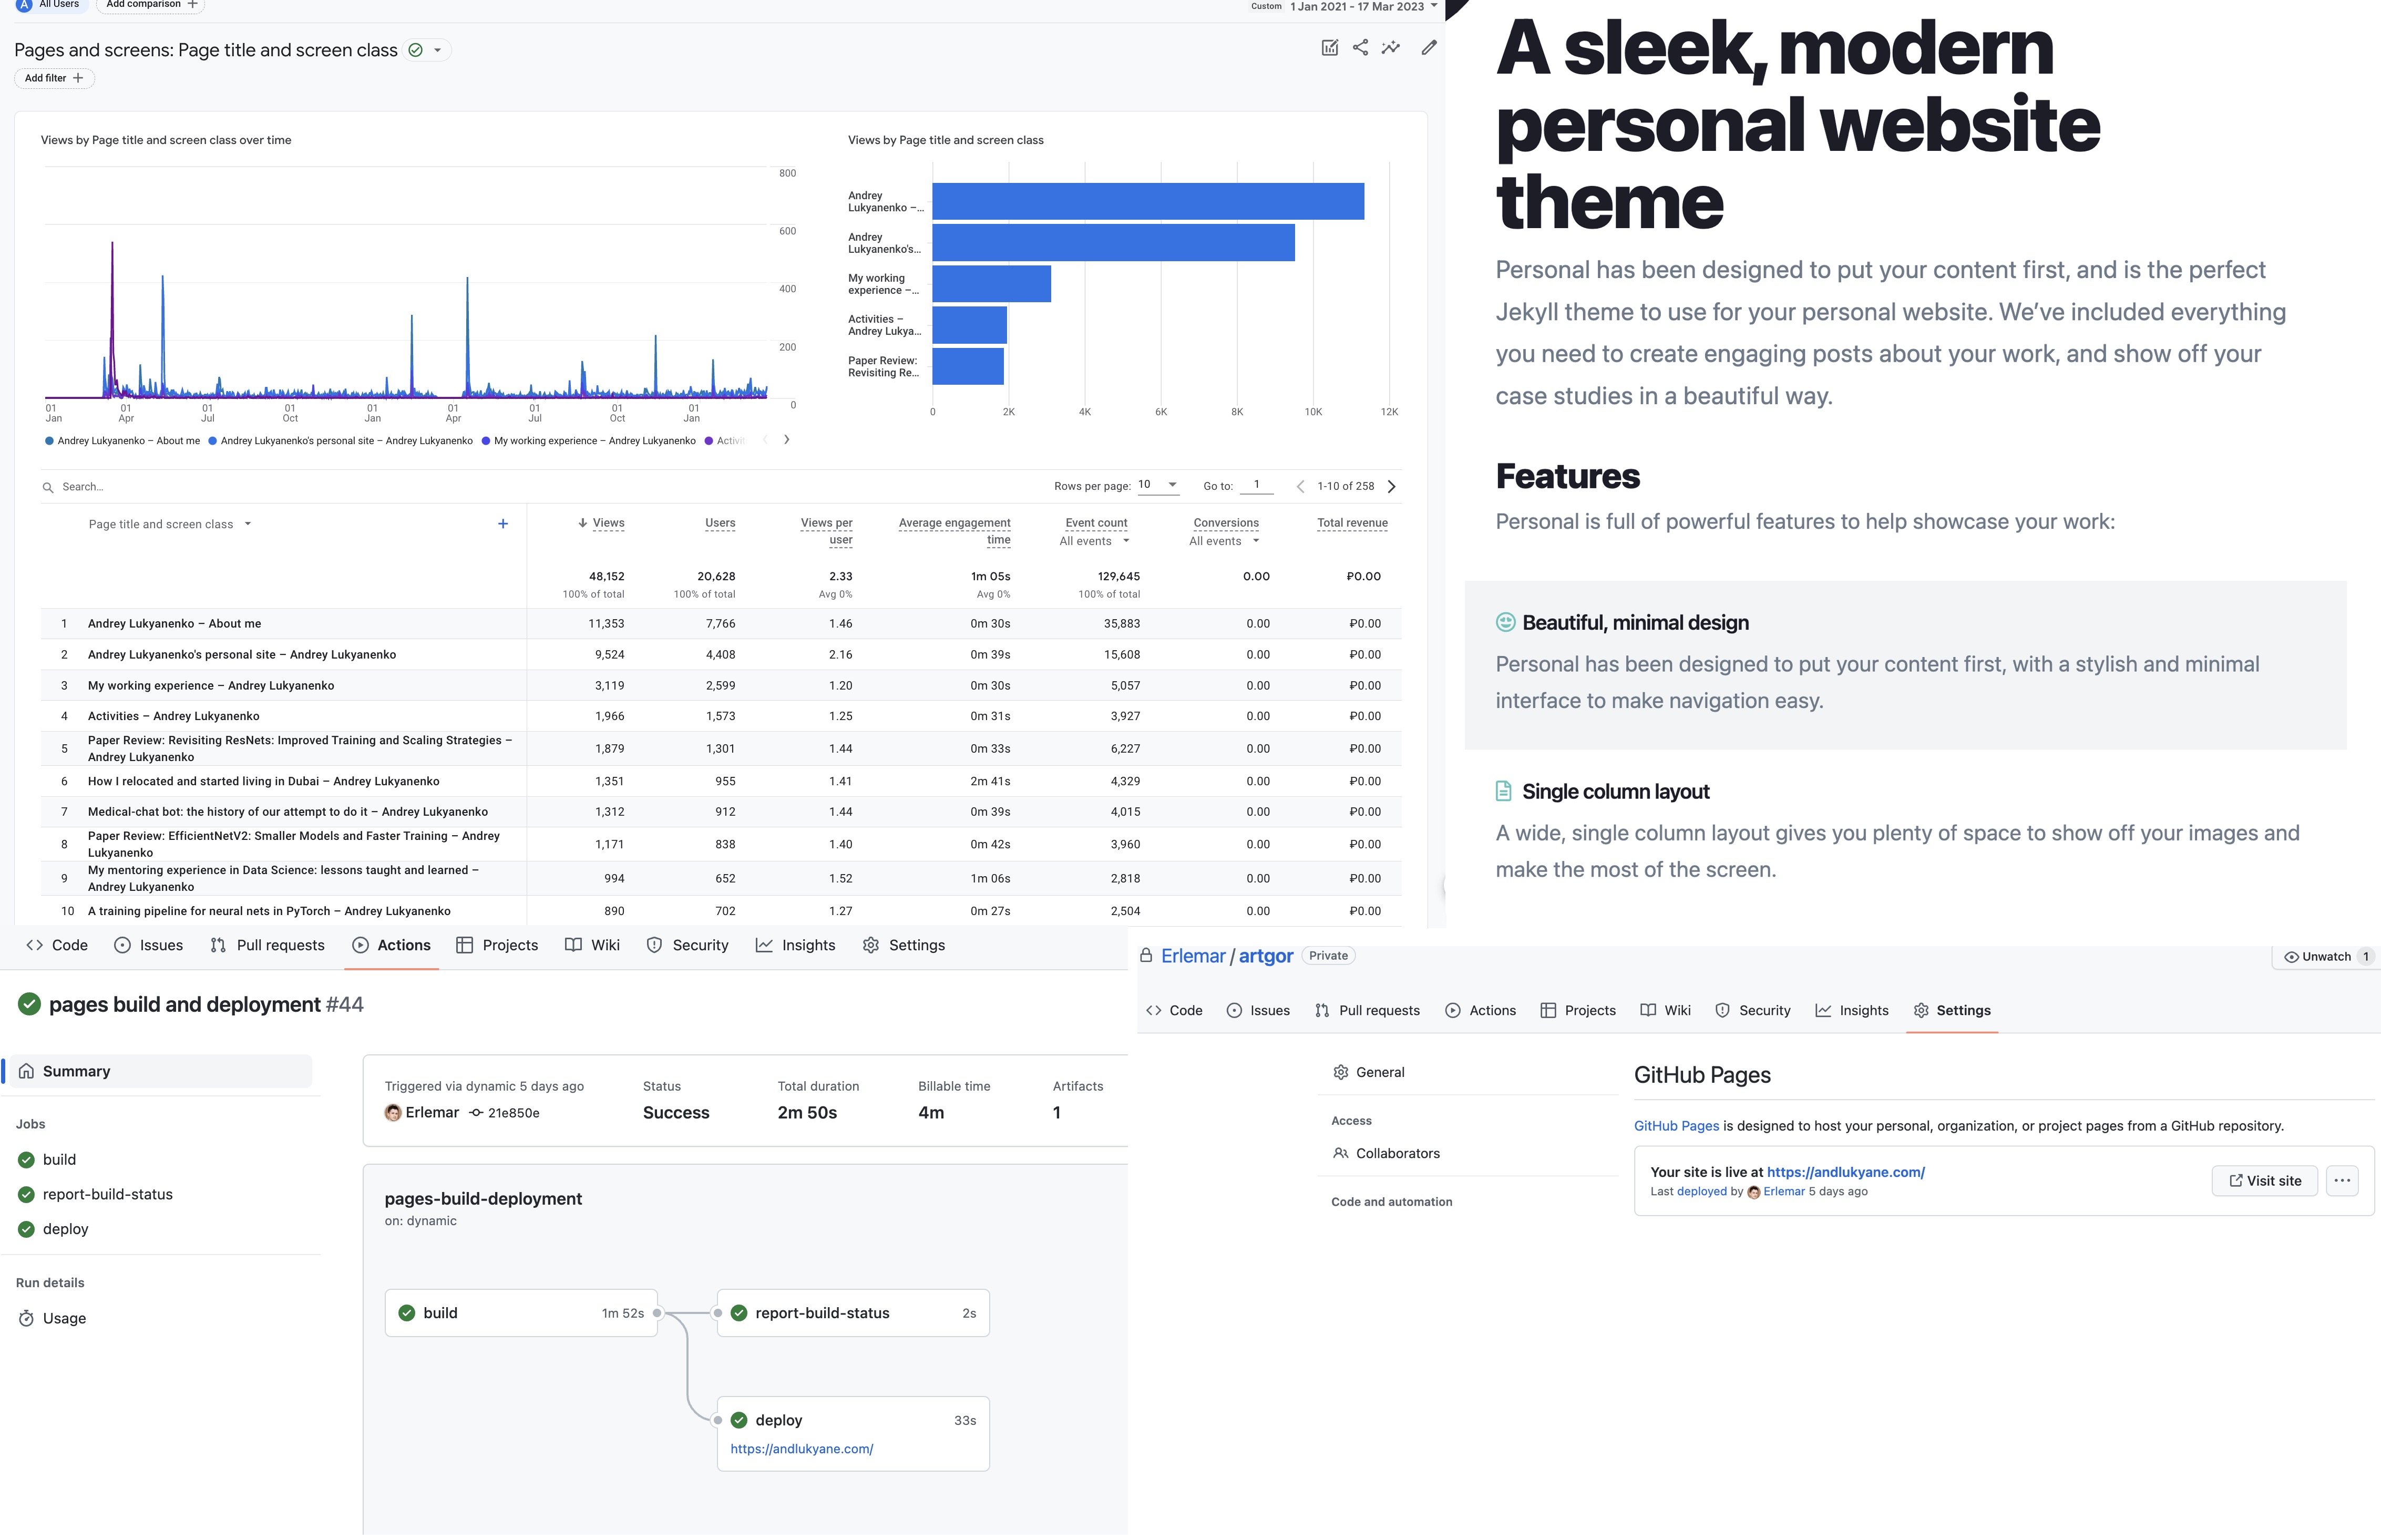
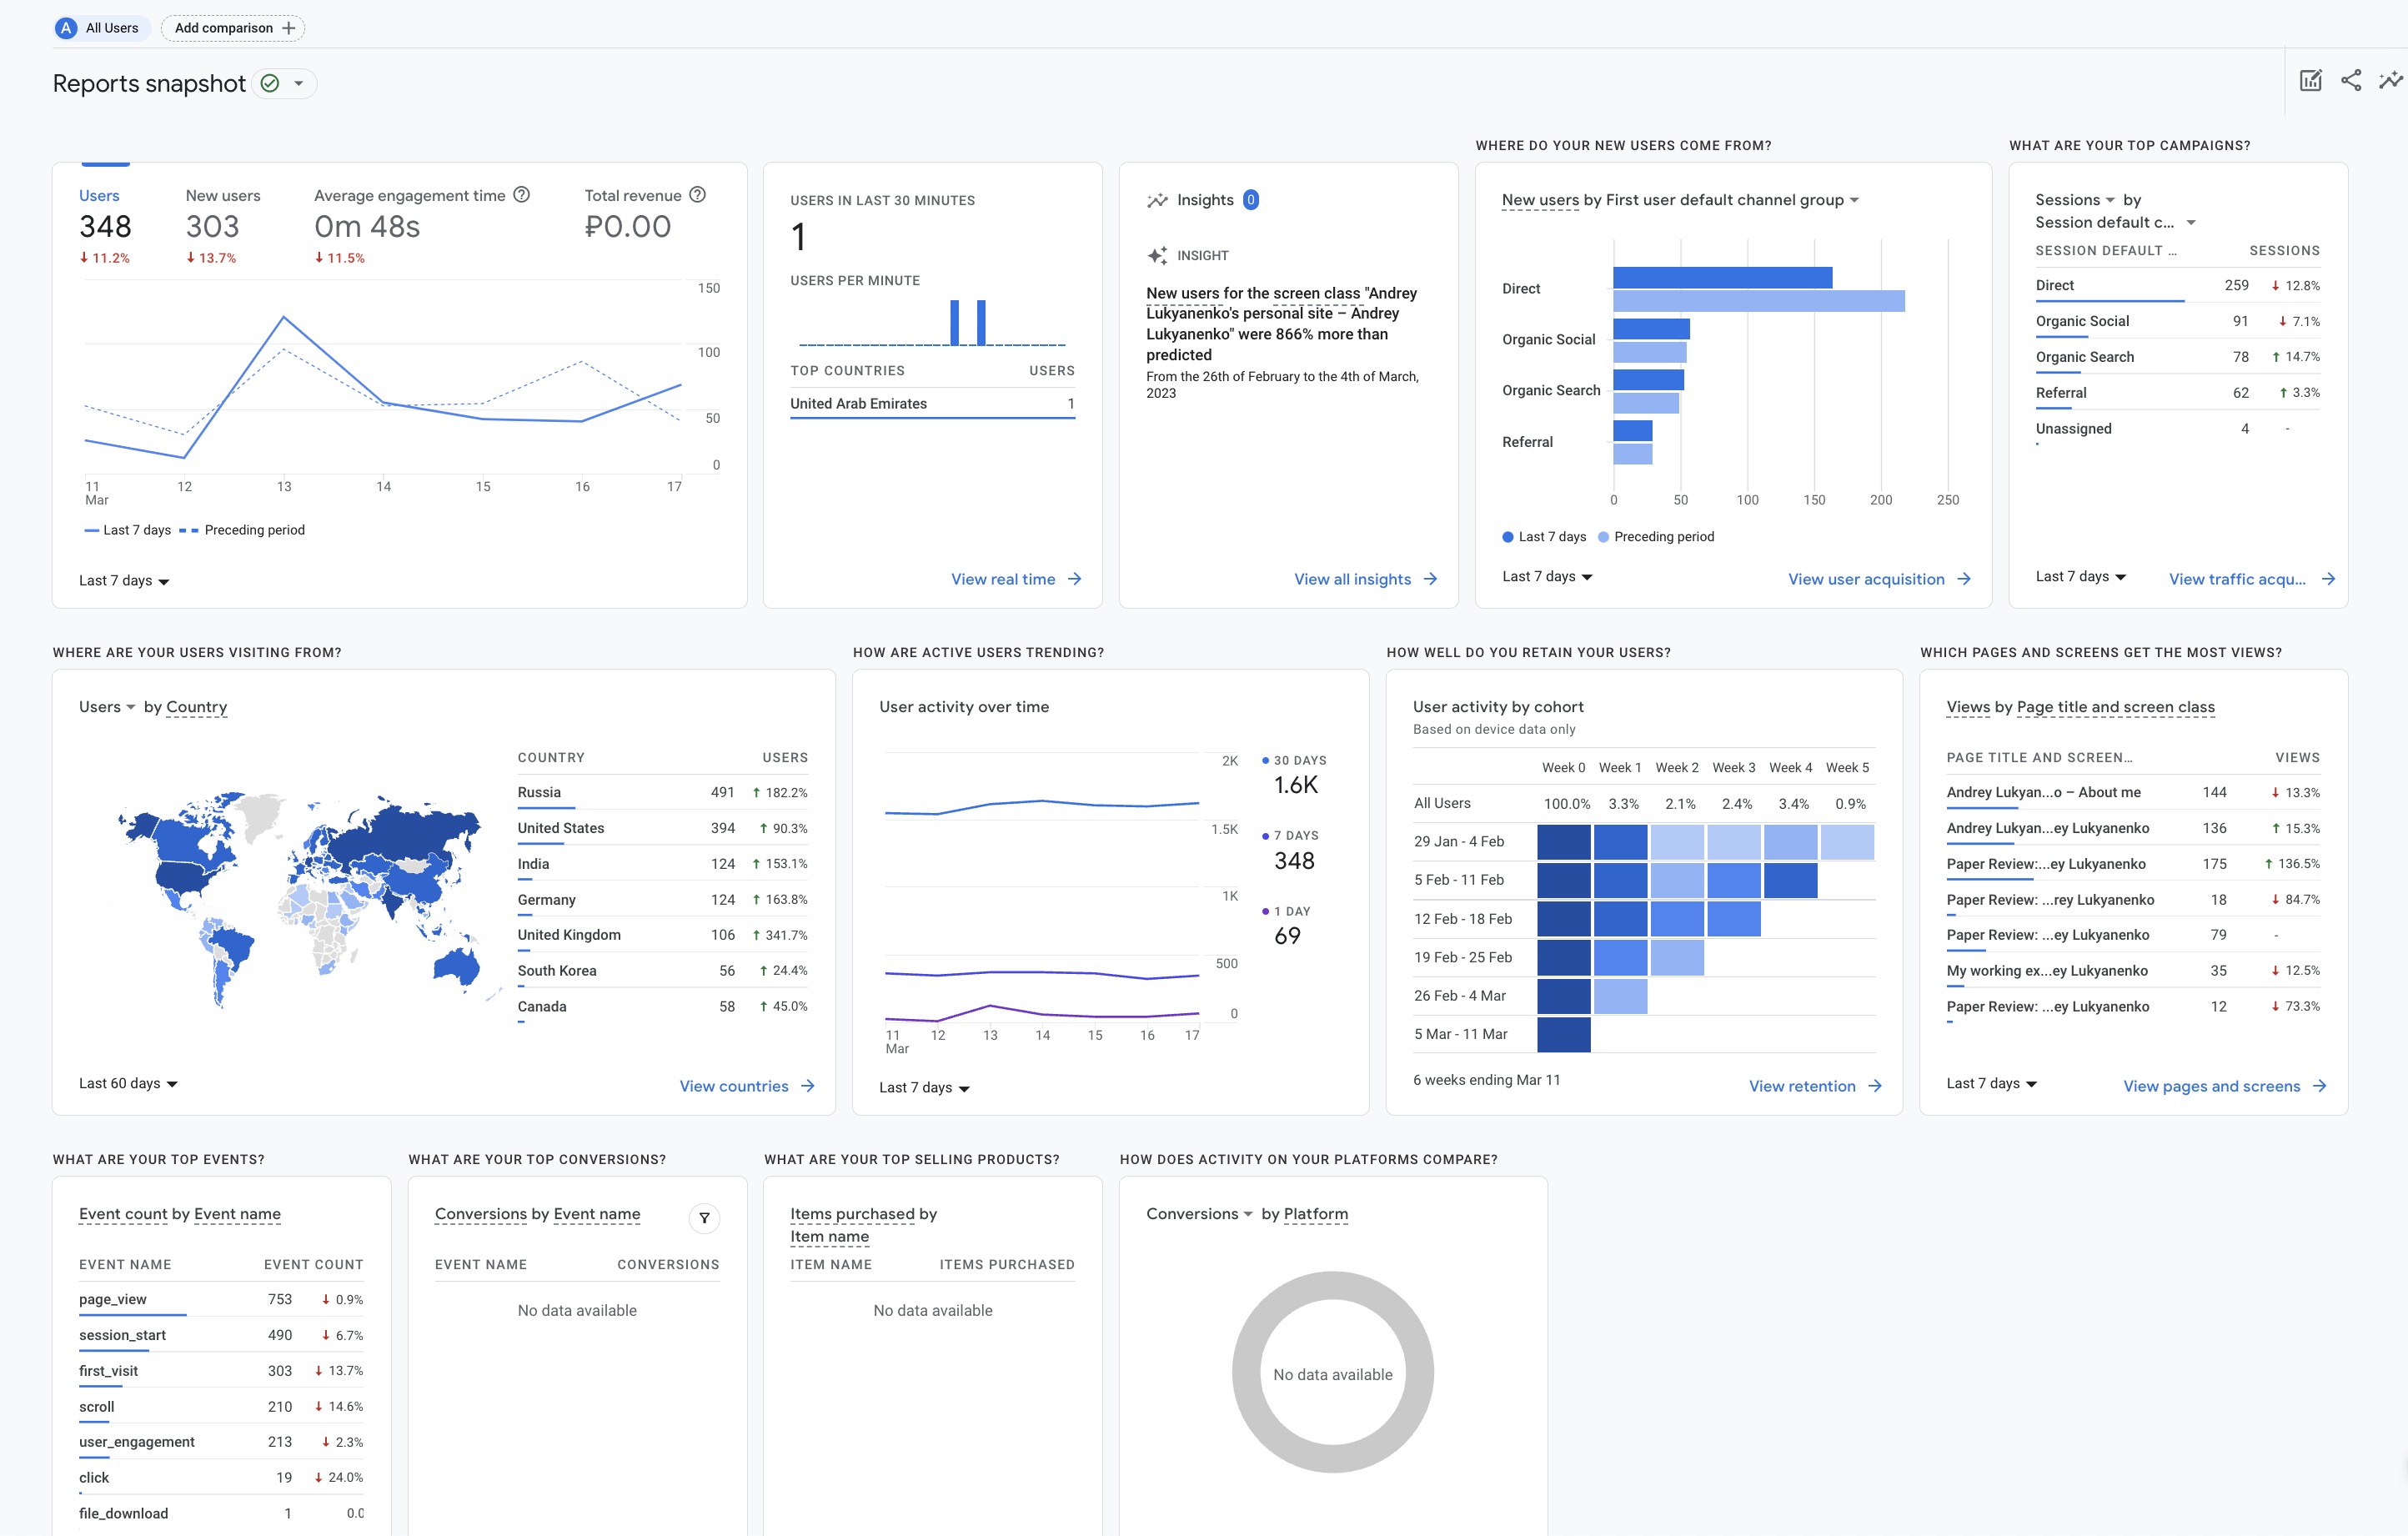
<script src="https://utteranc.es/client.js" repo="Erlemar/andlukyane-comments" issue-term="url" theme="github-light" crossorigin="anonymous" async> </script> - Implementing Google Analytics: While I didn’t require in-depth traffic analysis, I wanted to gauge the popularity of different pages. Thus, I set up Google Analytics, which has proven quite useful and insightful;
Reflections and Future Plans
The initial setup and content population of my website took approximately one month, with additional time spent on incorporating comments, tags, and other features. I am delighted with the final result, and the website has proven quite helpful:
- It serves as a convenient platform for managing career-related information, such as job history, talks, and other activities, simplifying communication with recruiters;
- Most of my blog posts are machine learning paper reviews, while others detail personal experiences;
- The website facilitated several interviews. Notably, during the final interview (bar raiser) with my current employer, the interviewer expressed admiration for my website, which contributed to a successful outcome and my subsequent hiring;
- I have secured several small consulting projects thanks to my website;
In the near future, I plan to separate general blog posts from paper reviews for improved navigation. Additionally, I may explore the possibility of improving the design.
blogpost career