The third life of a personal pet project for handwritten digit recognition
Five years ago, when I got my first job as a Data Scientist, I wanted to get more experience as fast as possible. One of the things I did this was working on a personal project: a Flask app that allowed users to draw a digit and have it recognized by an ML model. It took me a couple of months to develop it, but it was worth it both in terms of improving my skills and helping in job search.
Two years later, I published a new version with various improvements; for example, I used OpenCV to recognize separate digits, and the model was expanded to 11 classes, predicting non-digits. If you are interested, you can read about these two versions in more detail here.
These two apps were deployed on Heroku using a free plan, but some time ago, free plans were discontinued. I wanted to keep this project live, so I decided to make a new version. Simply redeploying a project wouldn’t be fun, so I trained a YOLOv3 model from scratch on 12 classes. While this may seem like a small, personal project, it actually presented many of the same challenges as a real-world project. In this blog post, I want to share my journey working on this project, from data collection to deployment.
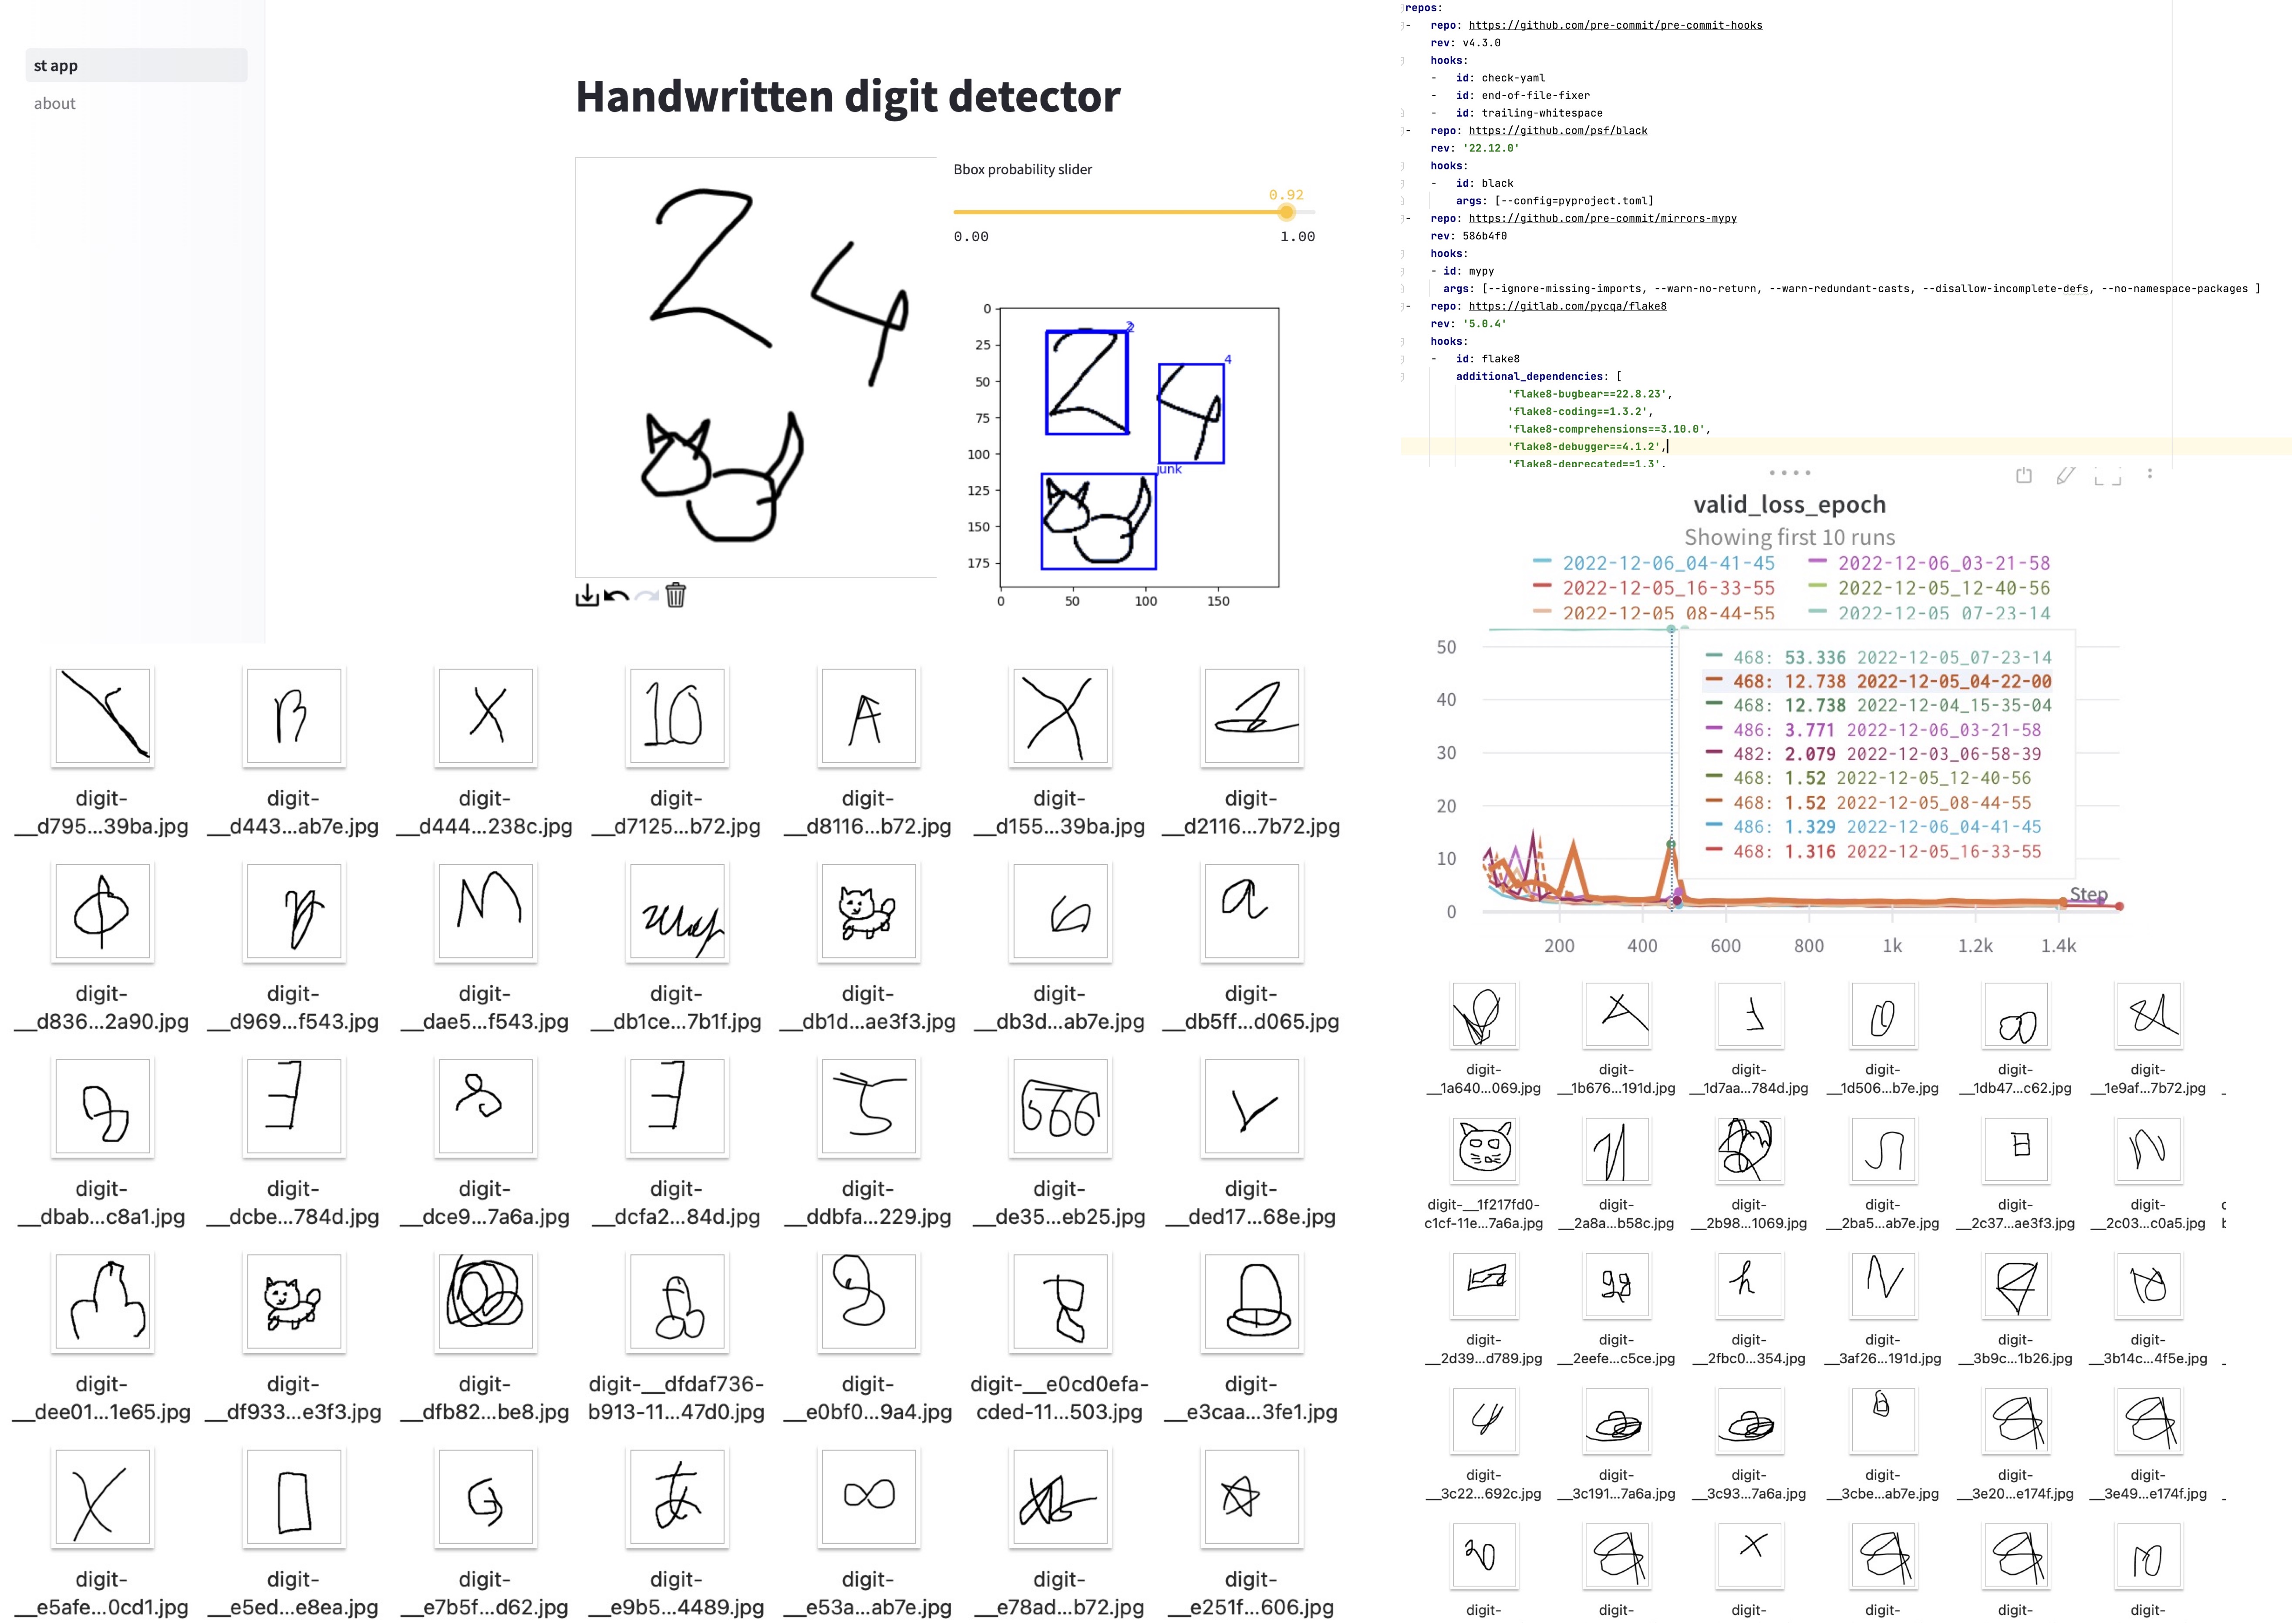
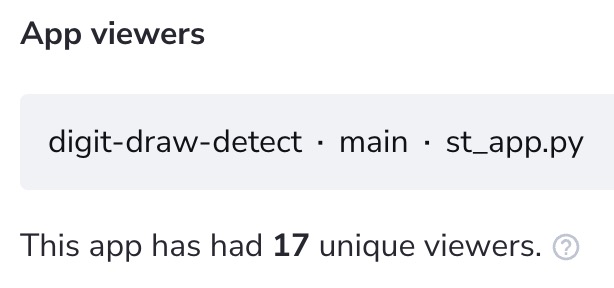
Here is the link to the app itself.
Data collection and processing
Obtaining good data and annotations is an essential part of any project. Thanks to the previous versions of this app, I had a dataset of around 19k images that were stored in an Amazon S3 bucket. While the labels for these images were initially generated by my models, I knew there was a certain degree of error to account for. In fact, I estimated that the error rate was around 10%, which meant that about 2k of the images had incorrect labels.
In addition to errors in the labeling process, I also encountered difficulties due to confusing cases in the images. For example, people sometimes drew digits in such a way that it was difficult to determine what was depicted or drew multiple digits in a single image, which added another layer of complexity. Additionally, I had implemented an “other” class in my previous model to recognize non-digit objects, but I still needed to verify all the labels.
As a result, I spent several hours manually checking and correcting the labels for the images, even deleting some that I wasn’t sure about. Ensuring that the data and annotations were accurate and reliable was essential in developing my project.
Image classification models
As I began working on my updated digit recognition project, I started by training a CNN model using Pytorch on my MacBook. I also trained a ViT model using this tutorial as a starting point. Both models were trained using Pytorch’s MPS, allowing high-performance GPU training on macOS devices using the Metal programming framework. This resulted in significantly faster training times compared to using a CPU.
I had previously developed a training pipeline using PyTorch-lightning and Hydra, which I was able to easily modify for this project. You can see the code for this pipeline here.
Once the models were trained, I examined the cases where they made incorrect predictions and tried to correct them. Unfortunately, in some cases, I couldn’t determine the correct label myself, so I usually deleted such images.
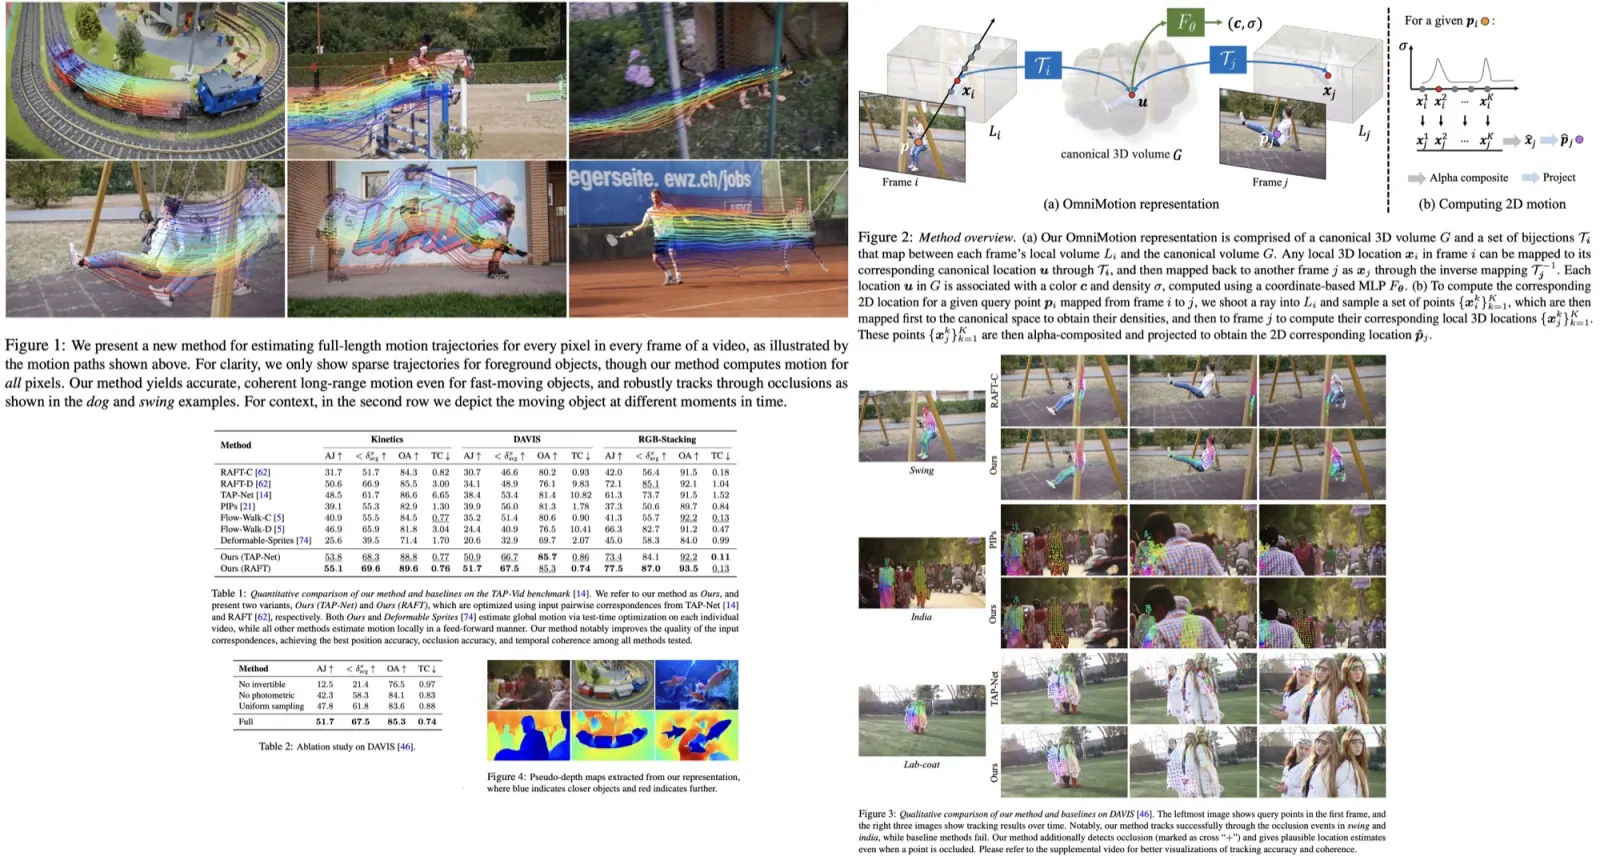
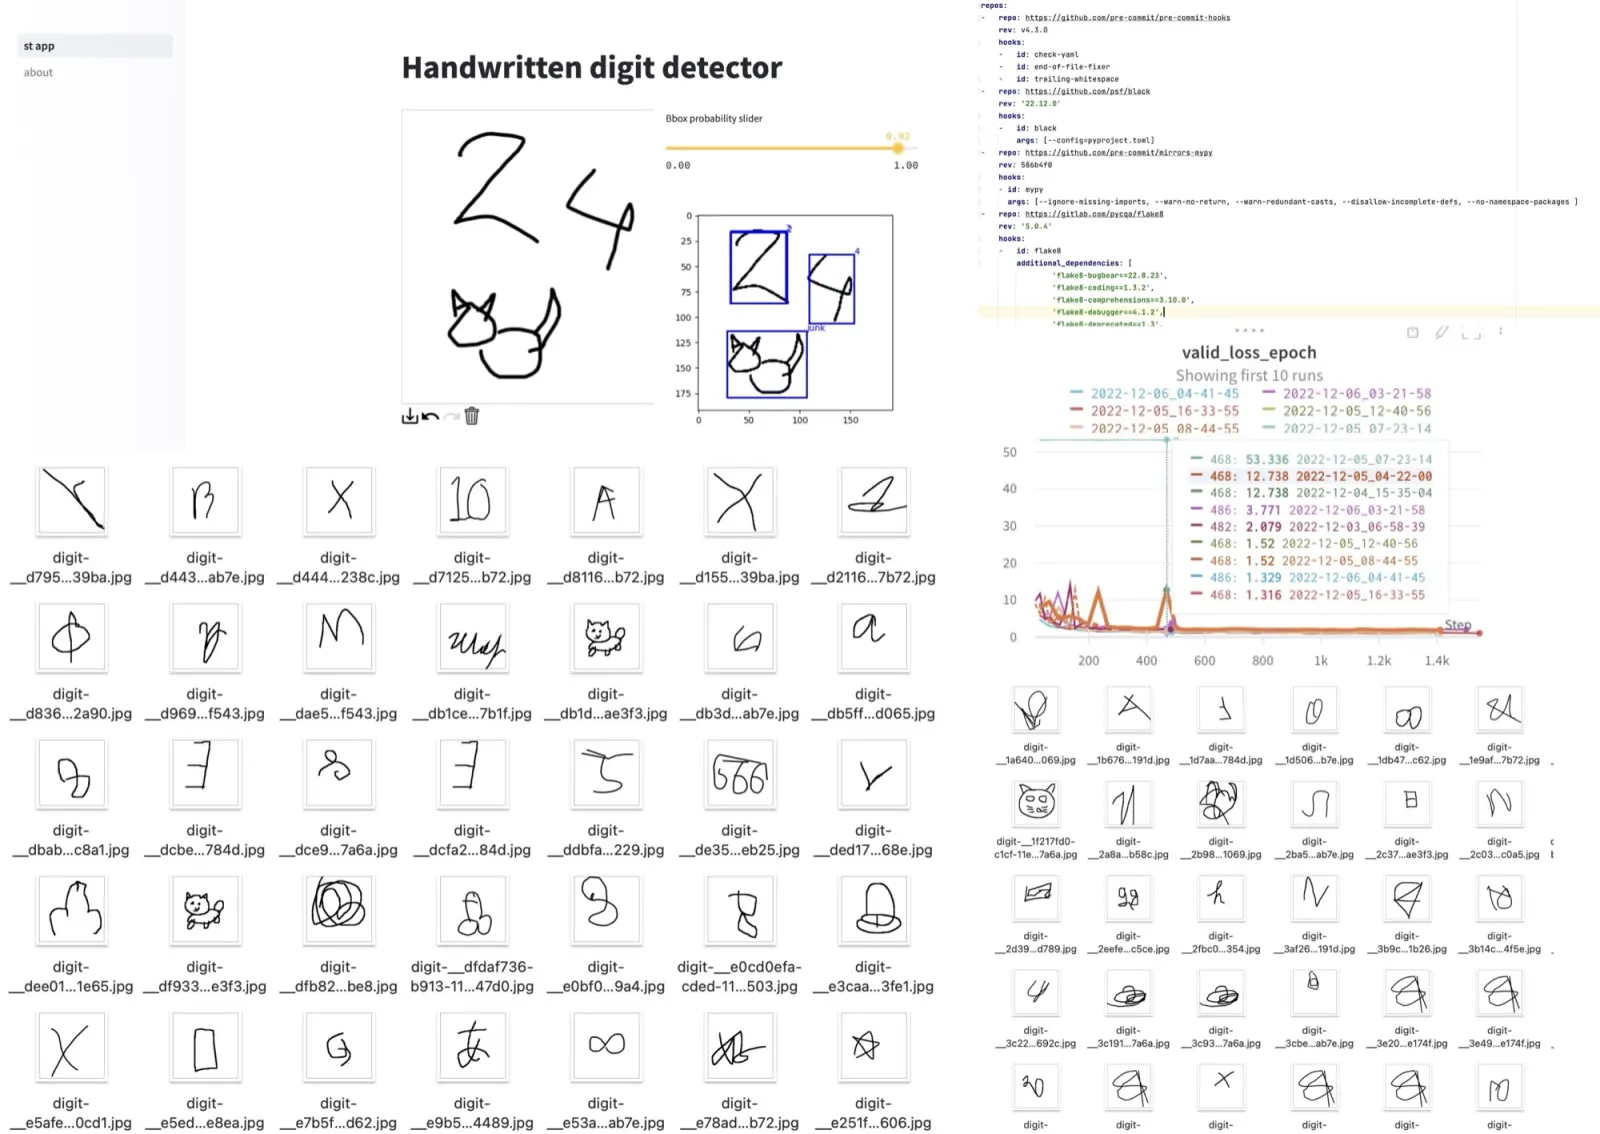
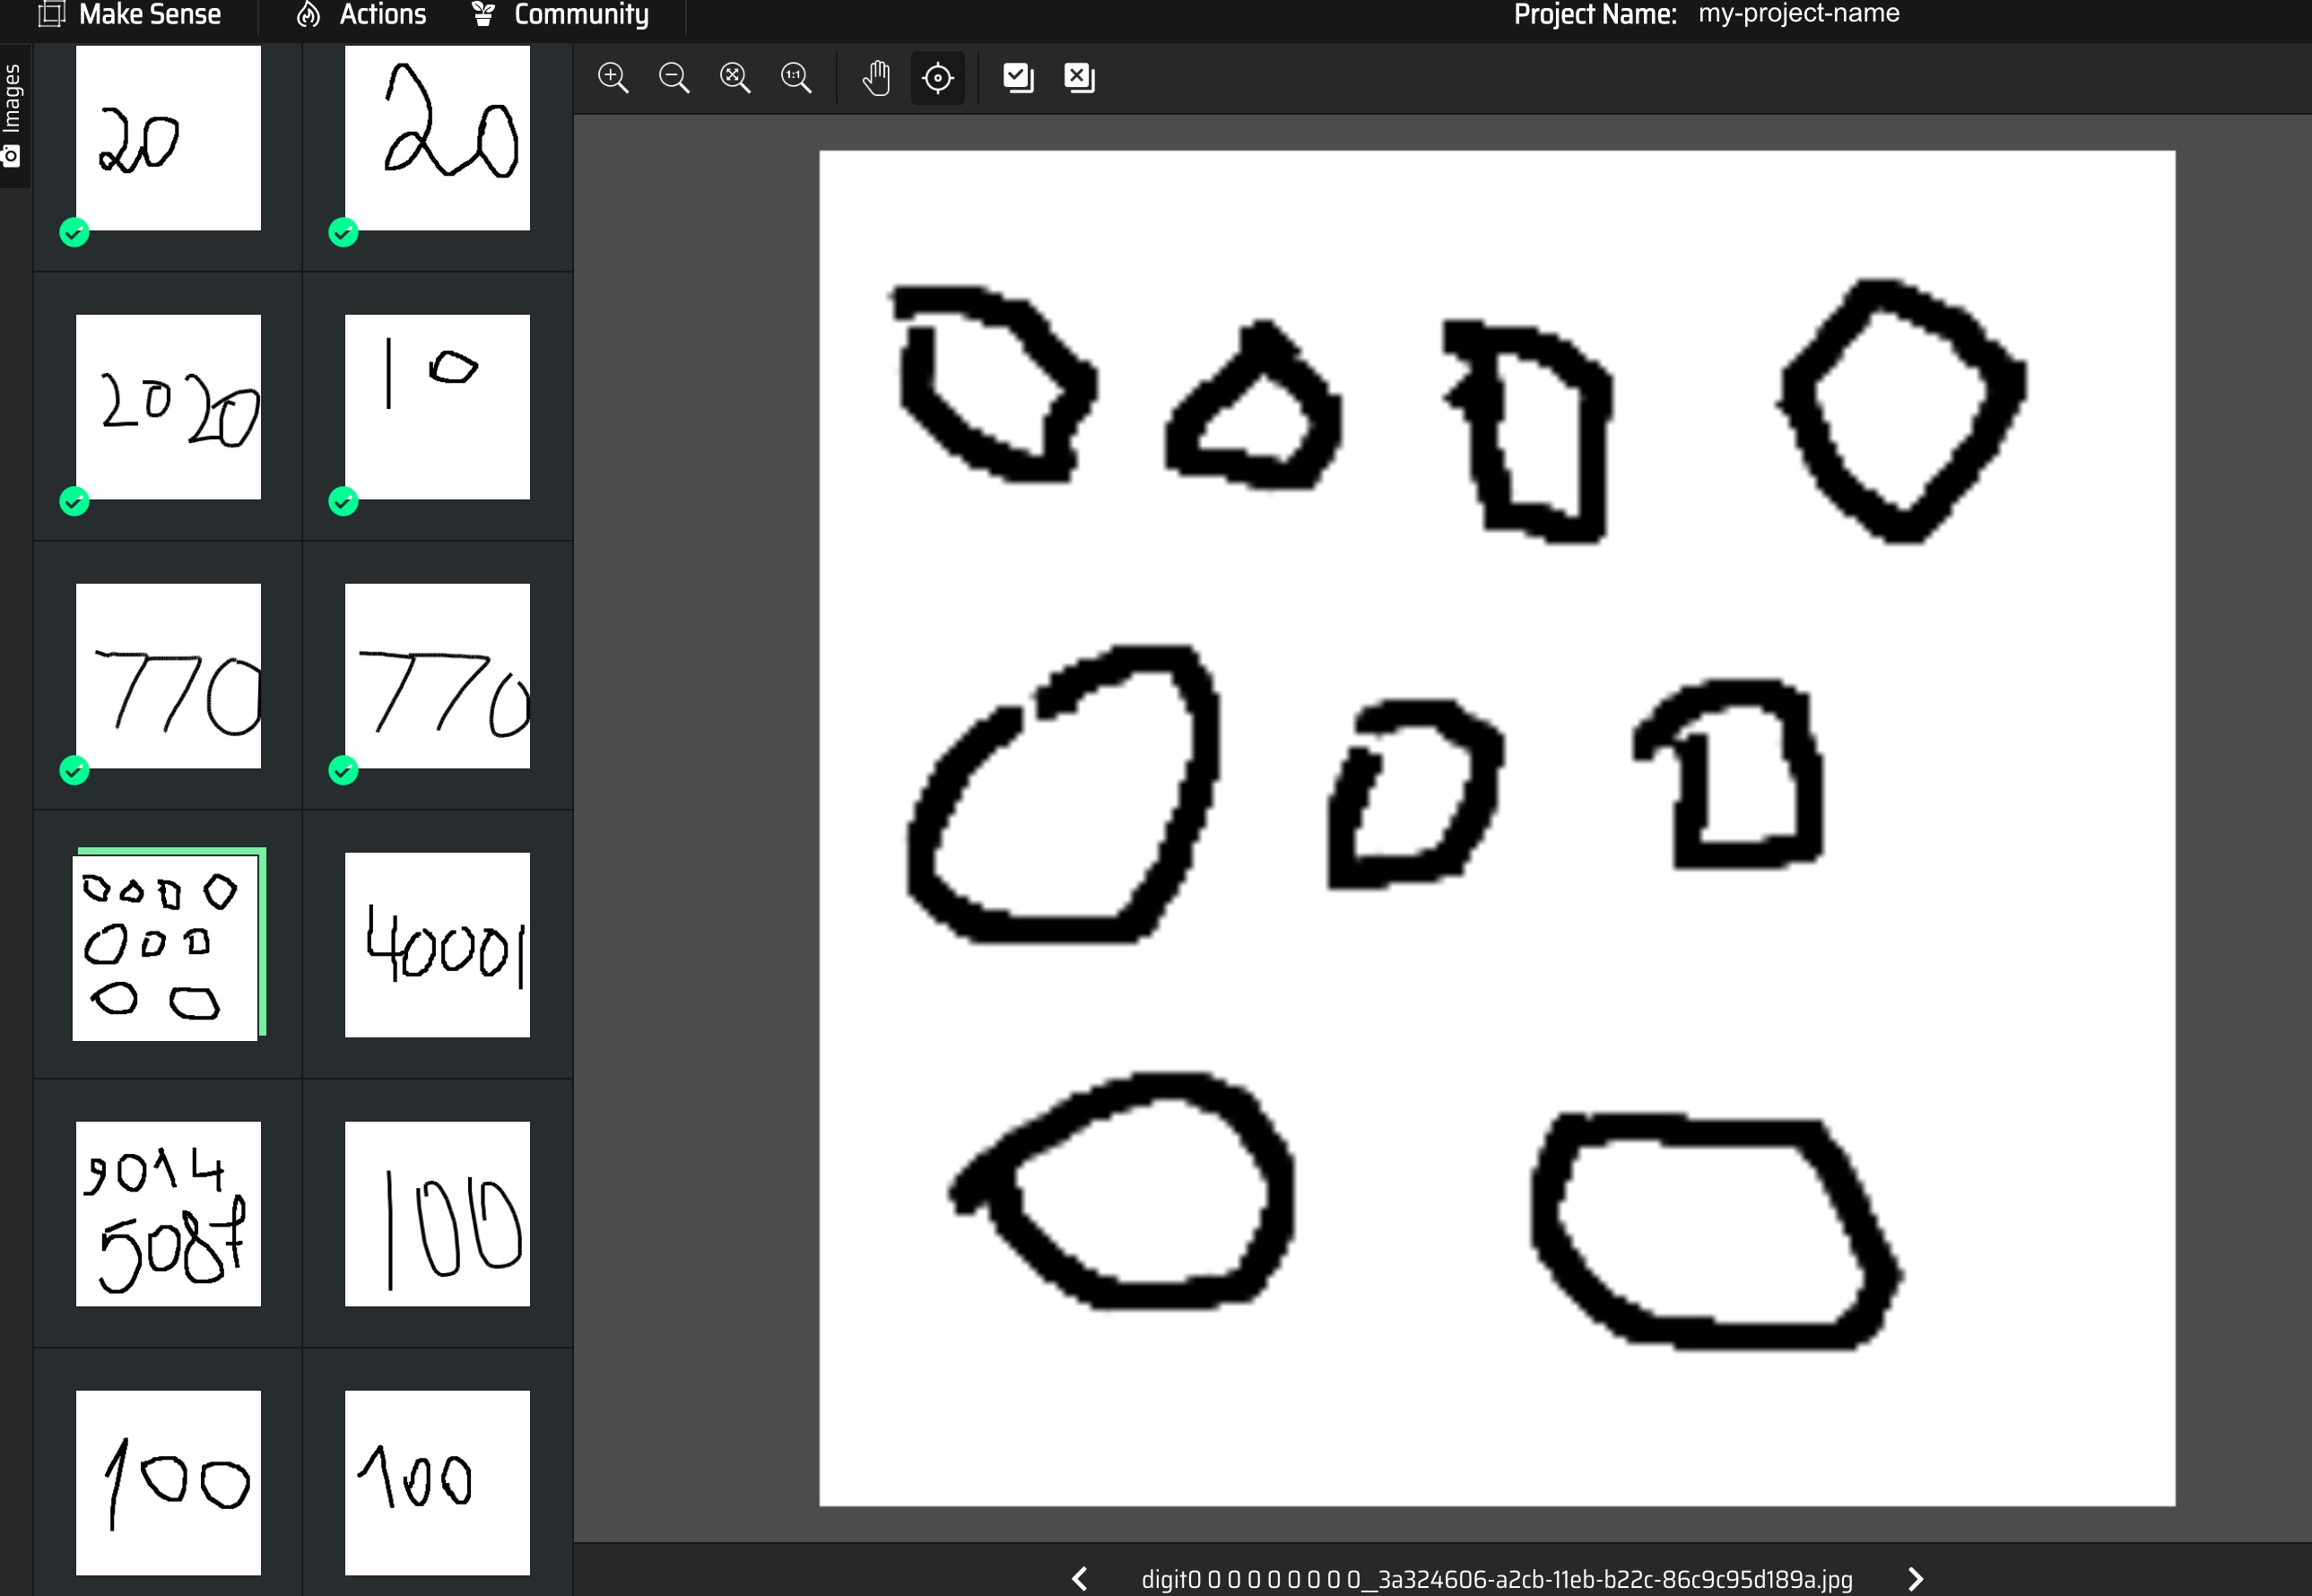
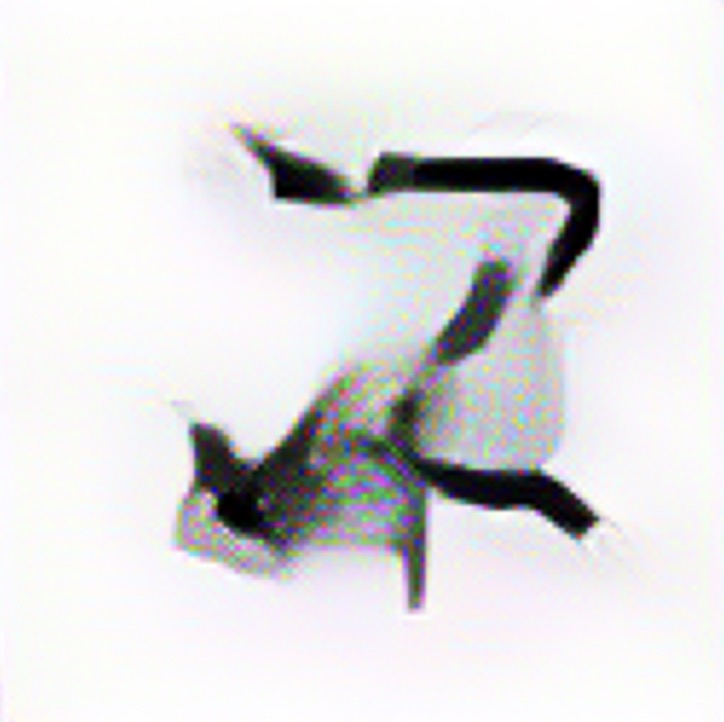
It’s worth noting that at this point, I had 12 classes for the models to recognize: 10 for the digits, one for “other”, and a final class, which I called “censored”. You can guess what it is from the image below. I was surprised to find that the models were able to recognize this class quite well.
While these experiments were enjoyable to work on, they were ultimately a stepping stone toward my ultimate goal of training object detection models for the project.
Annotating images for object detection
As I mentioned earlier, my goal for this project was to train an object detection model, which required bounding boxes for each object in each image. To get started, I used cv2.findContours and cv2.boundingRect from the OpenCV library to draw bounding boxes around the objects in the images. To make this process more efficient, I initially only worked with images that contained a single object.
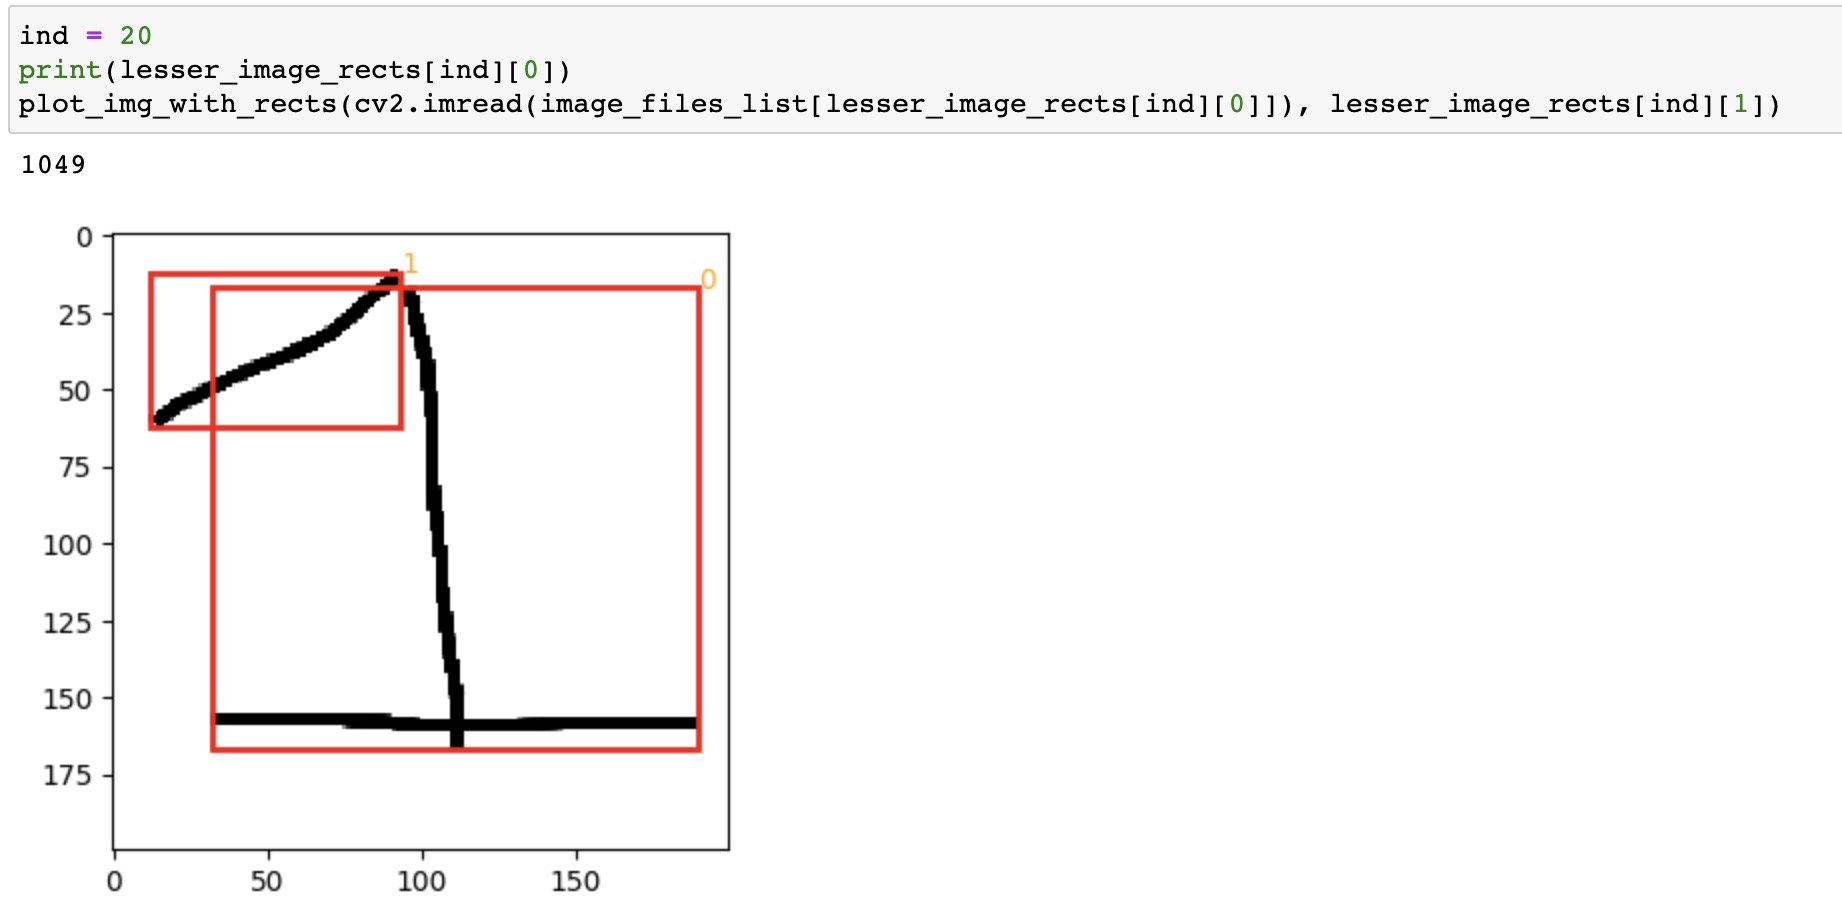
If the object detection model identified more than one bounding box in an image, I manually verified and modified the labels, moving these images into a separate folder for later processing.
Next, I needed to obtain labels for images that contained multiple objects. I initially tried to extract the bounding boxes automatically but found too many mistakes because people often drew the digits in multiple, non-connected strokes.
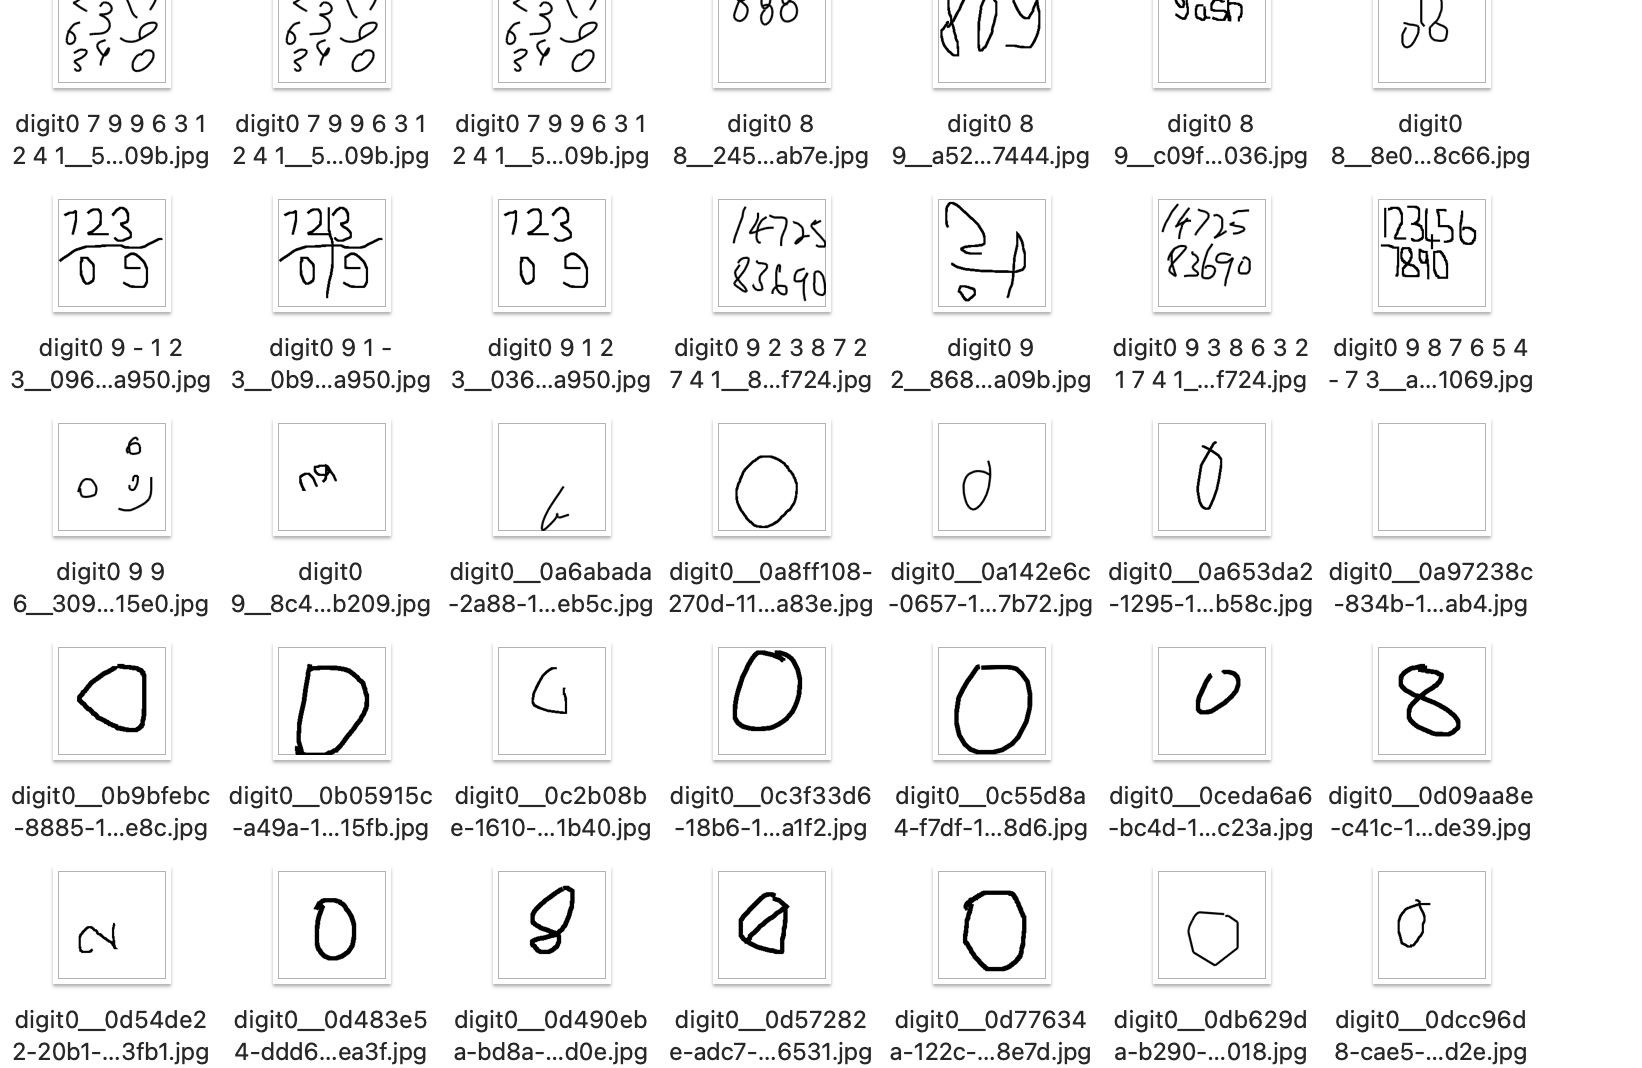
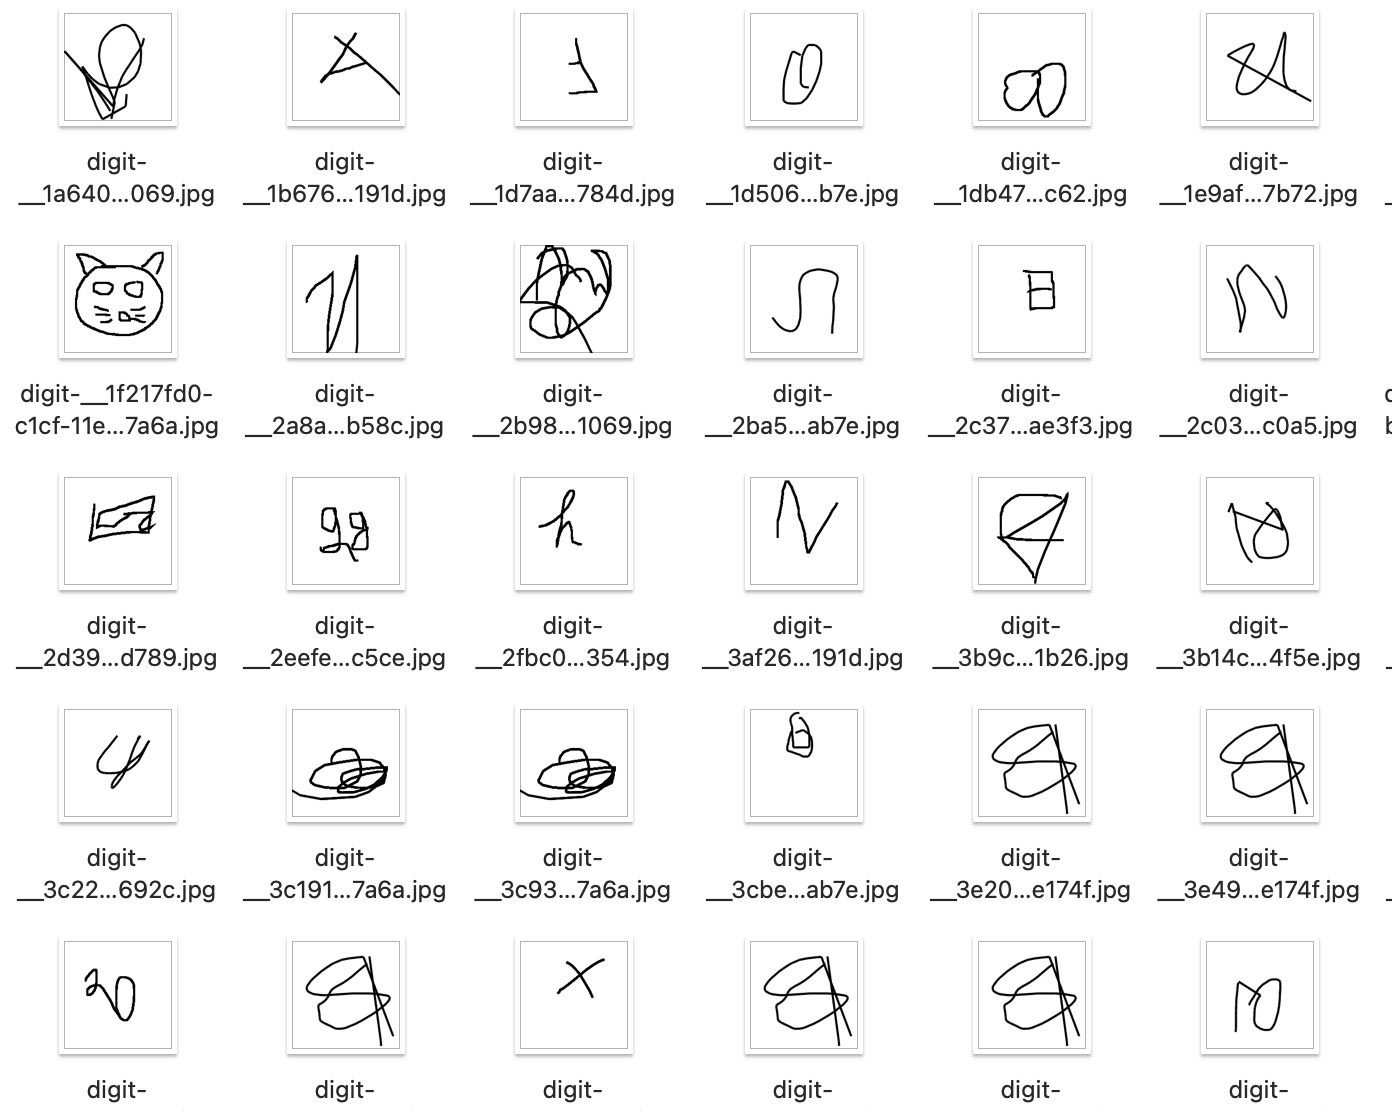
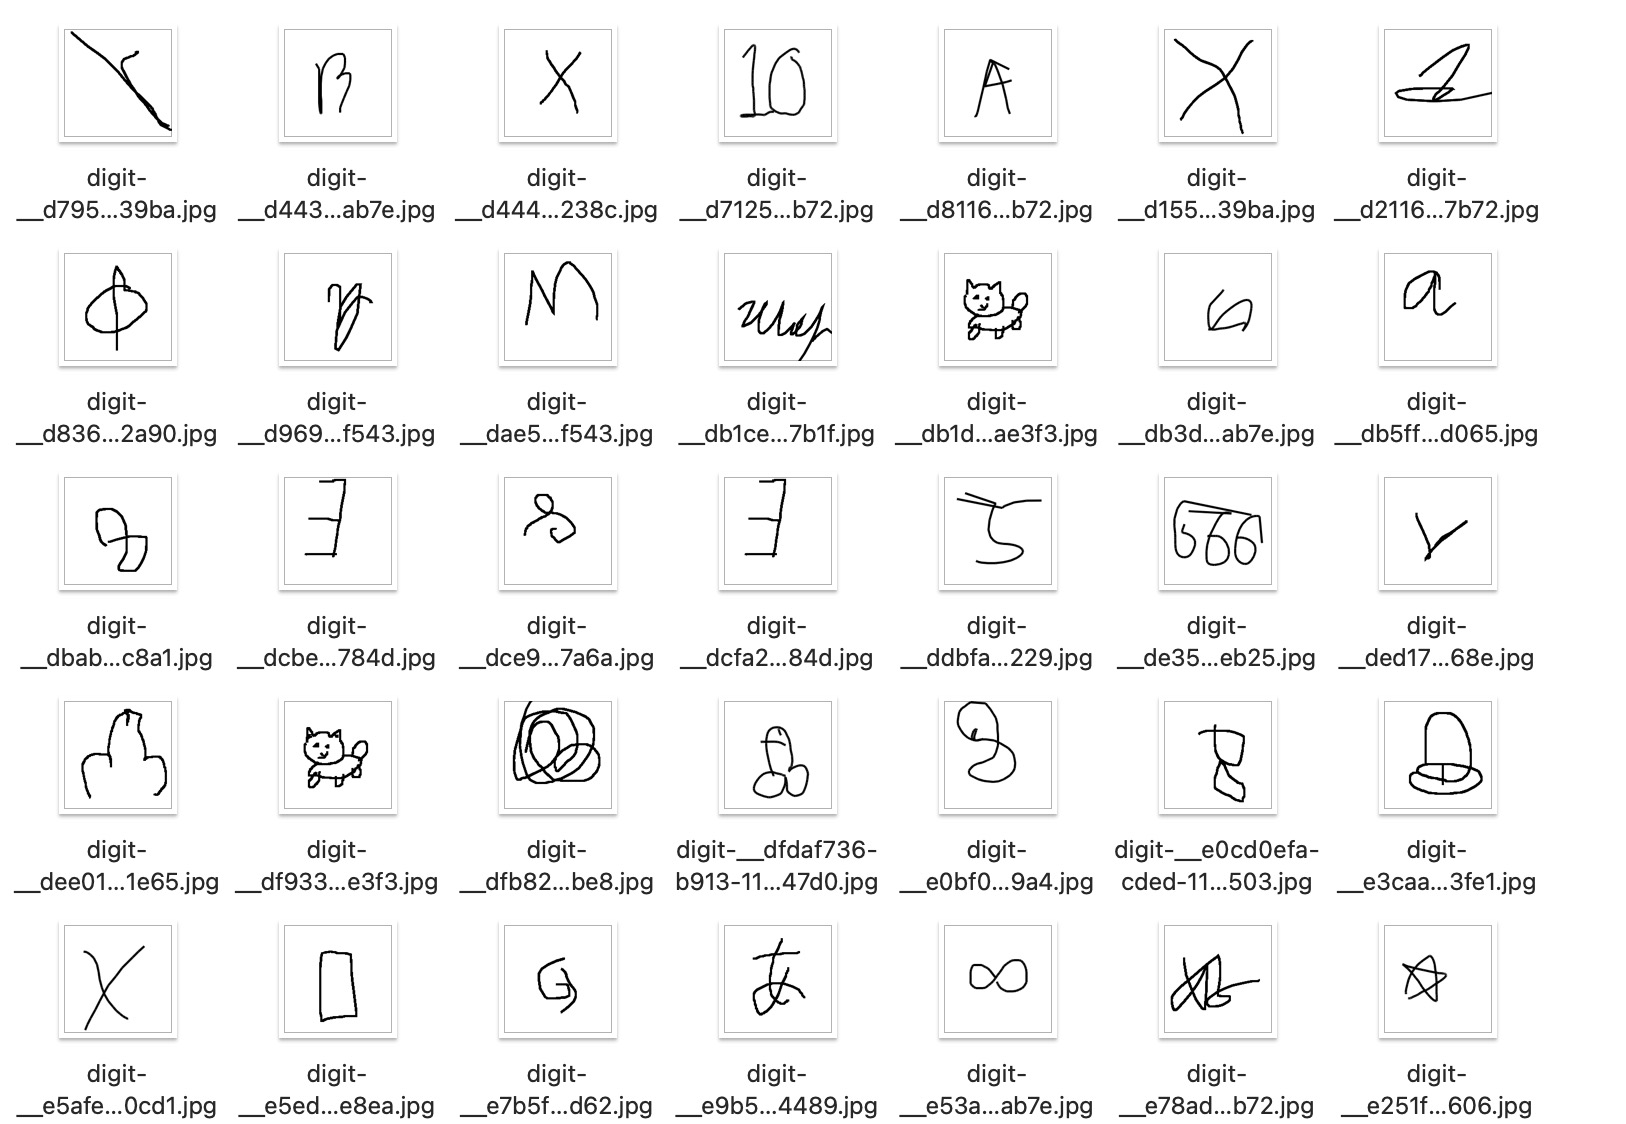
After some research, I found that https://www.makesense.ai/ was a helpful tool for labeling the rest of the data. It took several hours to go through all the images, but in the end, I had bounding box annotations for 16.5k images.
I had to go through tons of questionable images while creating the annotations.

Another challenge I encountered while labeling the data was deciding what to label and not to label. For example, it was difficult in some images to determine whether all the objects depicted were actually digits or if some should be labeled as “other”.
Training YOLOv3 for object detection
When I started working on my object detection model, I initially used only images with a single object for training to ensure everything worked as expected. I used this tutorial as a starting point and saw a good performance with a relatively low error rate.
However, things went wrong when I started training the model on all the images. The model’s performance suffered, and sometimes the gradients even exploded. The predicted bounding boxes were also incorrect.

To try and identify the root cause of these issues, I carefully debugged each step of the process. One problem I encountered was with the augmentations: some of the augmentations in the Albumentations library were causing the bounding boxes to be distorted. Here is an old GitHub issue about this problem. As a result, I started using imgaug for augmentations and only used albumentations at the final step of normalizing and resizing the images.
Another issue I found was with the bounding boxes’ format: I had used the coco format, while the model’s code expected them to be in yolo format. Fixing this issue helped, but the model’s performance was still not good enough.
After further experimentation, I discovered the final problem: when I was training image classification models, I extracted the drawn digits using OpenCV and resized the images to 32x32 or 64x64. This meant that the digits took up all the space in the image. However, when I started training object detection models, I took the entire canvas with the images and resized it to 64x64. As a result, many objects became too small and distorted to be recognized effectively. Increasing the image size to 192x192 helped improve the model’s performance.
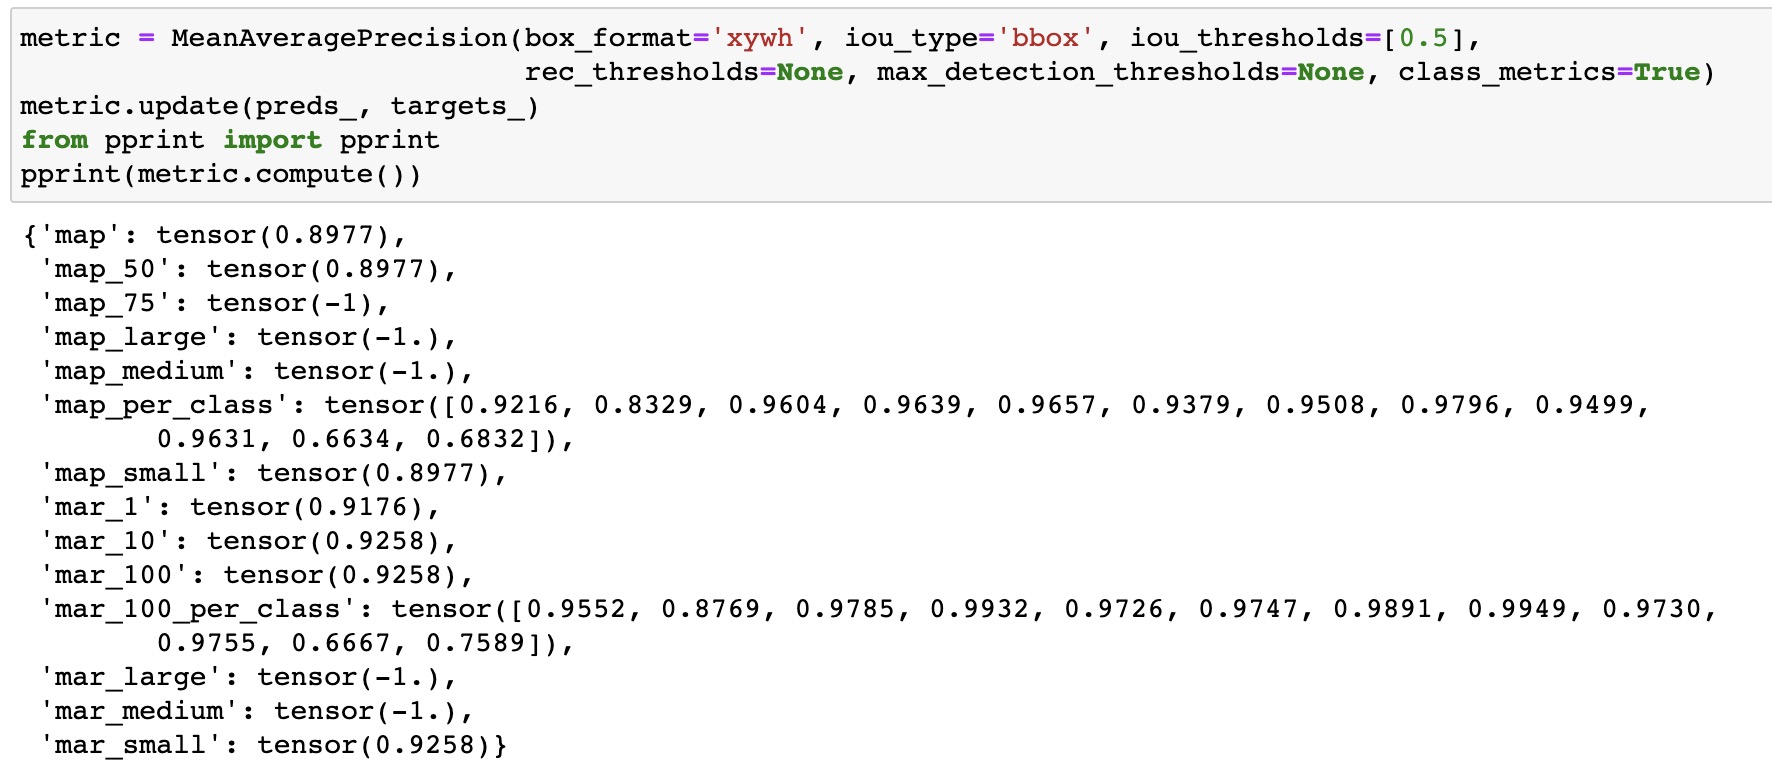
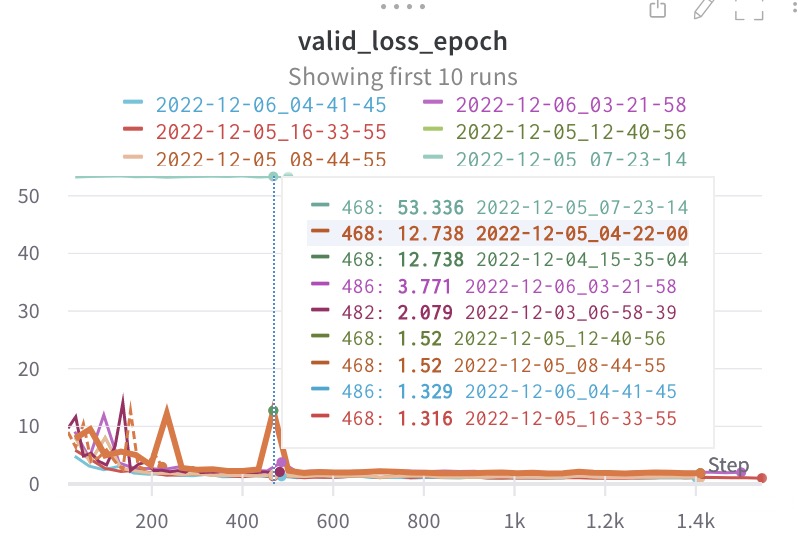
I’m sharing a link to a Weights and Biases report with training plots and more details.
Earlier, I mentioned that I had trained image classification models using Pytorch MPS on my MacBook. However, when I tried to train an object detection model in the same way, I encountered some issues with Pytorch MPS. One internal operation was failing, so I was forced to switch to using the CPU. There is a special issue on GitHub where people can share such cases.
While this worked when training on images with a size of 64x64 (although it took 15 minutes), increasing the image size to 192x192 made training prohibitively slow. As a result, I decided to use Google Colab instead. Unfortunately, the free version wasn’t sufficient, so I had to purchase 100 credits. One epoch on Colab took only 3 minutes. Running several experiments was enough to get a good performance.
Deployment
Training the model is an important but not the final step in the development process. After training the model, the next step was creating and deploying an app.
Streamlit
To create the app for this project, I decided to use streamlit, as I had previous experience with it and found it to be much faster for app development compared to using flask. While the app may not have the same level of visual polish as a carefully designed website, the speed of development more than made up for it.
I used this canvas tool to allow users to draw the digits that the model would recognize. The app development process was relatively quick, taking only a couple of hours to complete. Once the app was ready, I was able to move on to the deployment phase.
Deployment
Initially, I planned to deploy the app on streamlit cloud, as it is an excellent platform for quickly deploying and sharing small apps. I successfully deployed the app on streamlit cloud, but when I shared it in a chat, it quickly hit the resource limits. This meant that I needed to find an alternative solution for deployment.
I considered deploying the app on Heroku, as I had before, but realized that it would be too expensive for this project, as it required more RAM than previous versions.
That’s when I remembered about Hugging Face Spaces, a platform specifically designed for deploying ML apps. I was able to easily deploy my app on Hugging Face Spaces within an hour, and it worked without any issues. Overall, I found this platform to be an excellent solution for deploying small ML models.
CI/CD
When working with already existing projects, we don’t always have the freedom to set up pipelines as we want, but in my case, I could do whatever I wanted, so I implemented a lot of checks to minimize the chance of errors appearing.
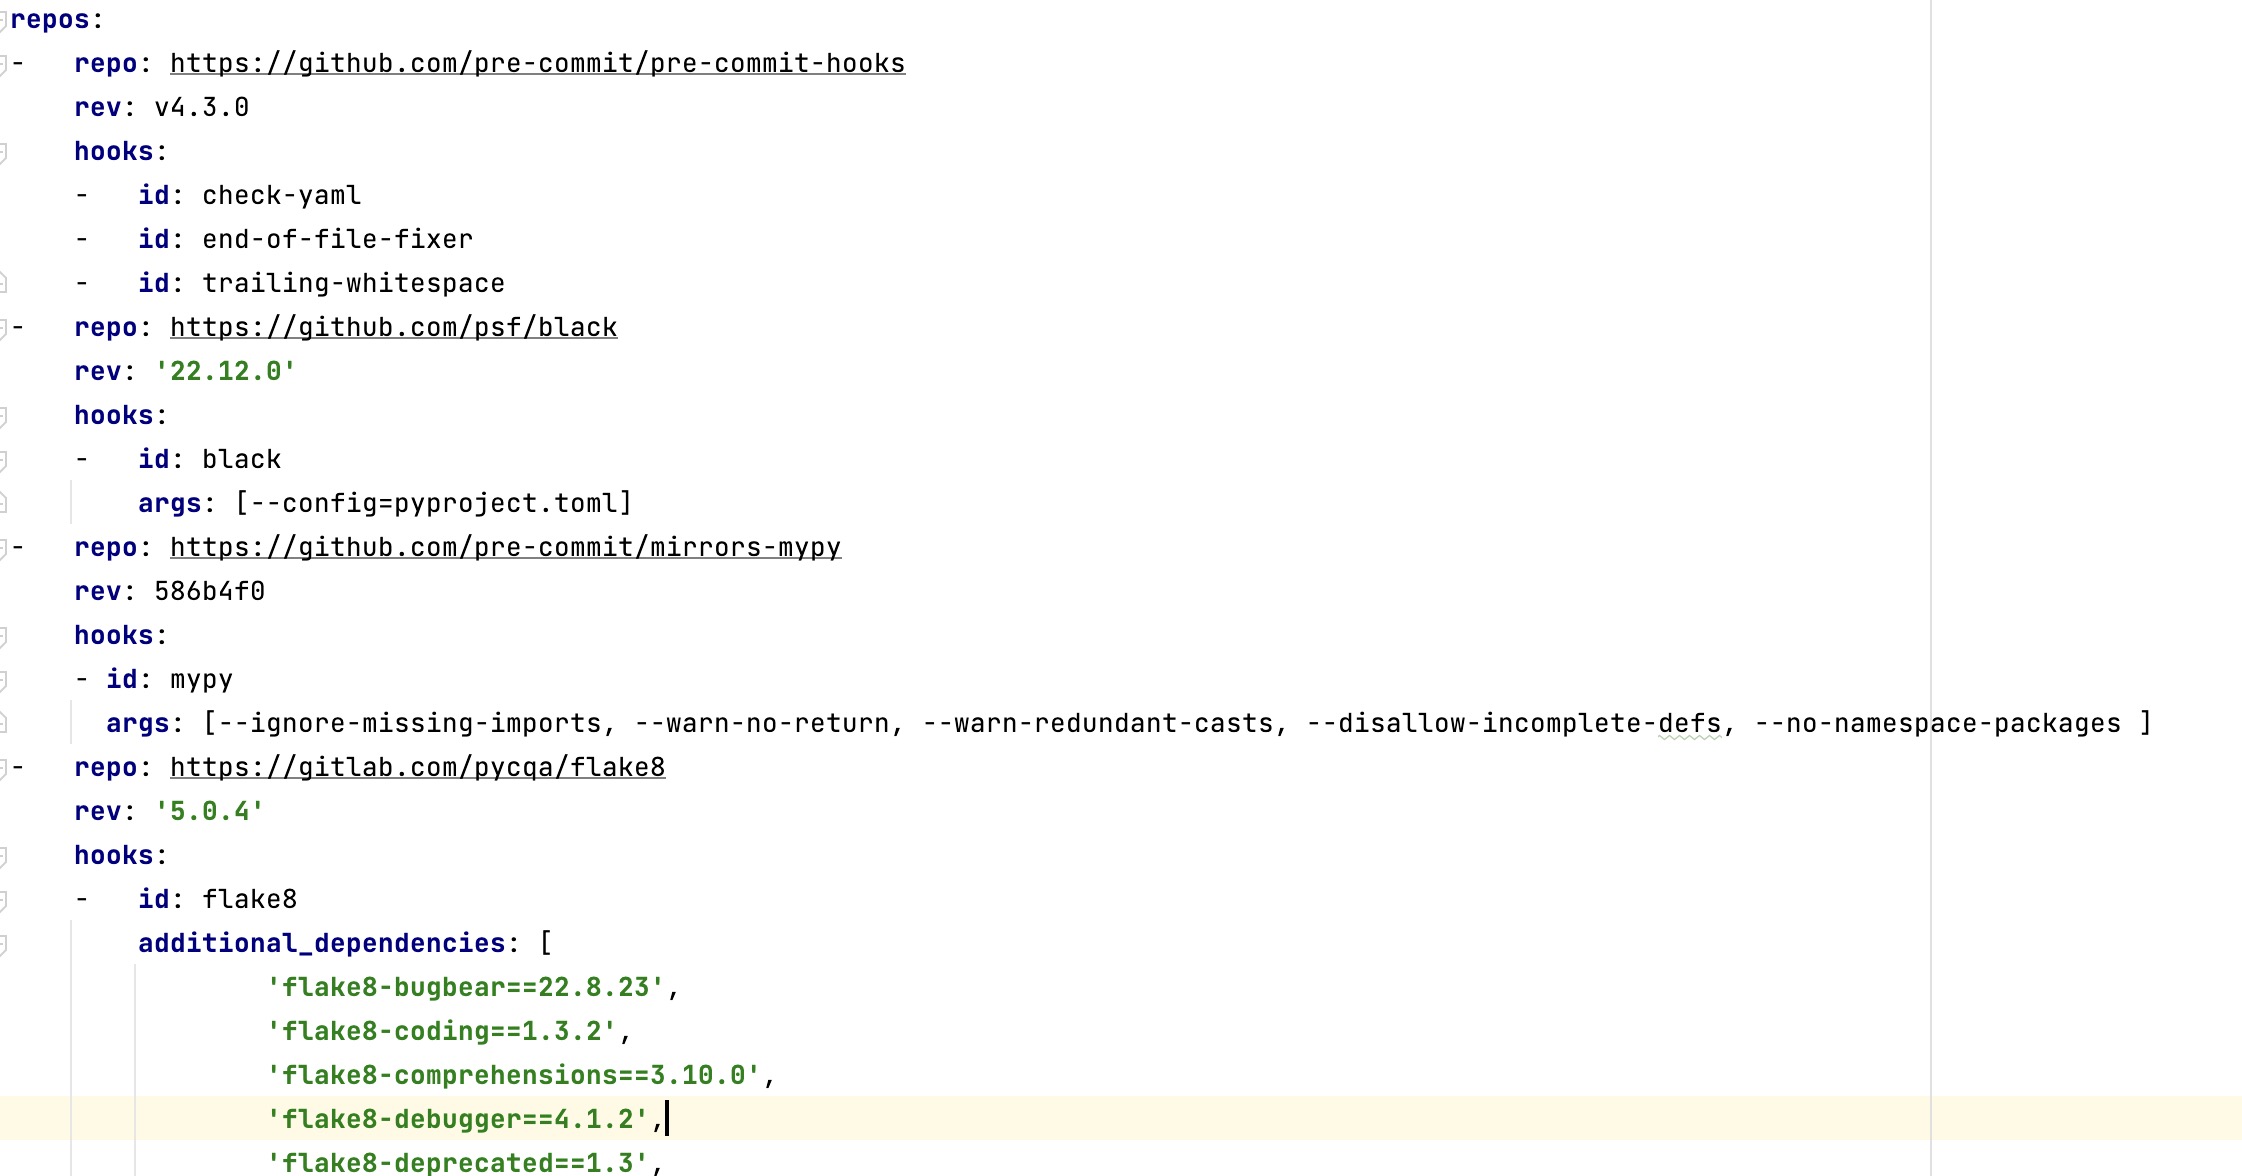
- I installed pre-commit hooks with various checks;
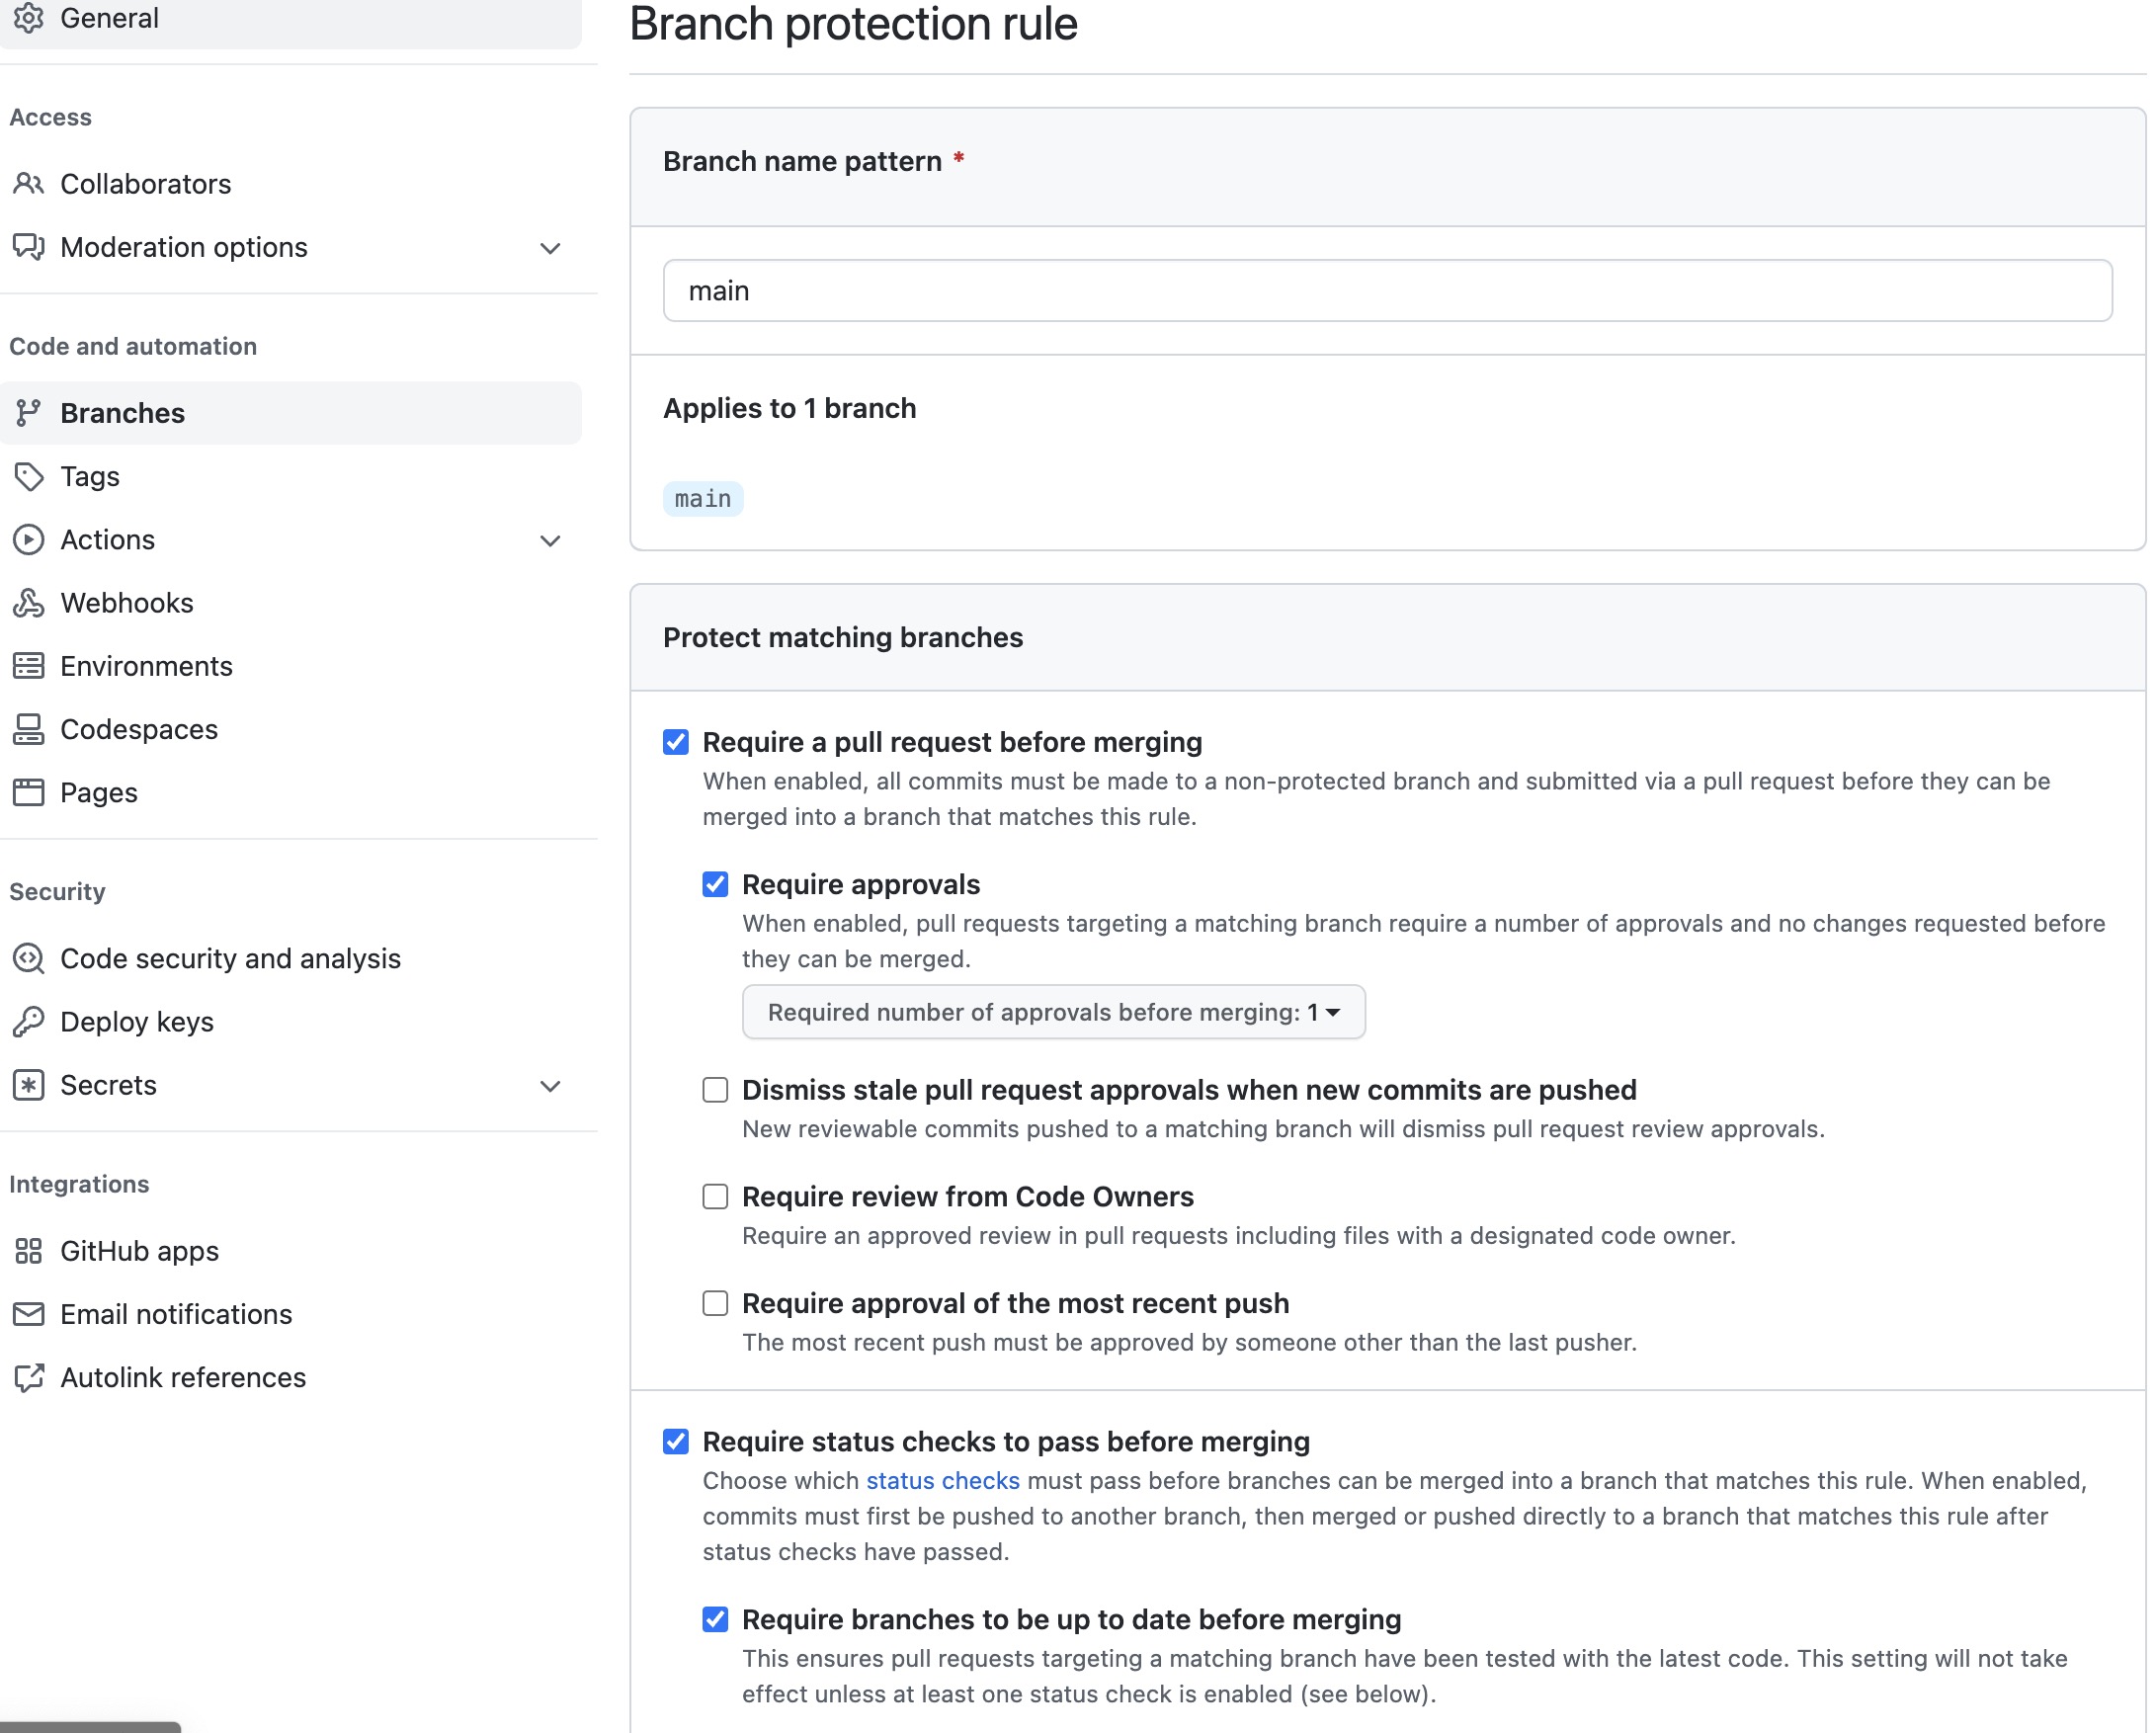
- I restricted pushes to main branch - all changes should be done only through PRs;
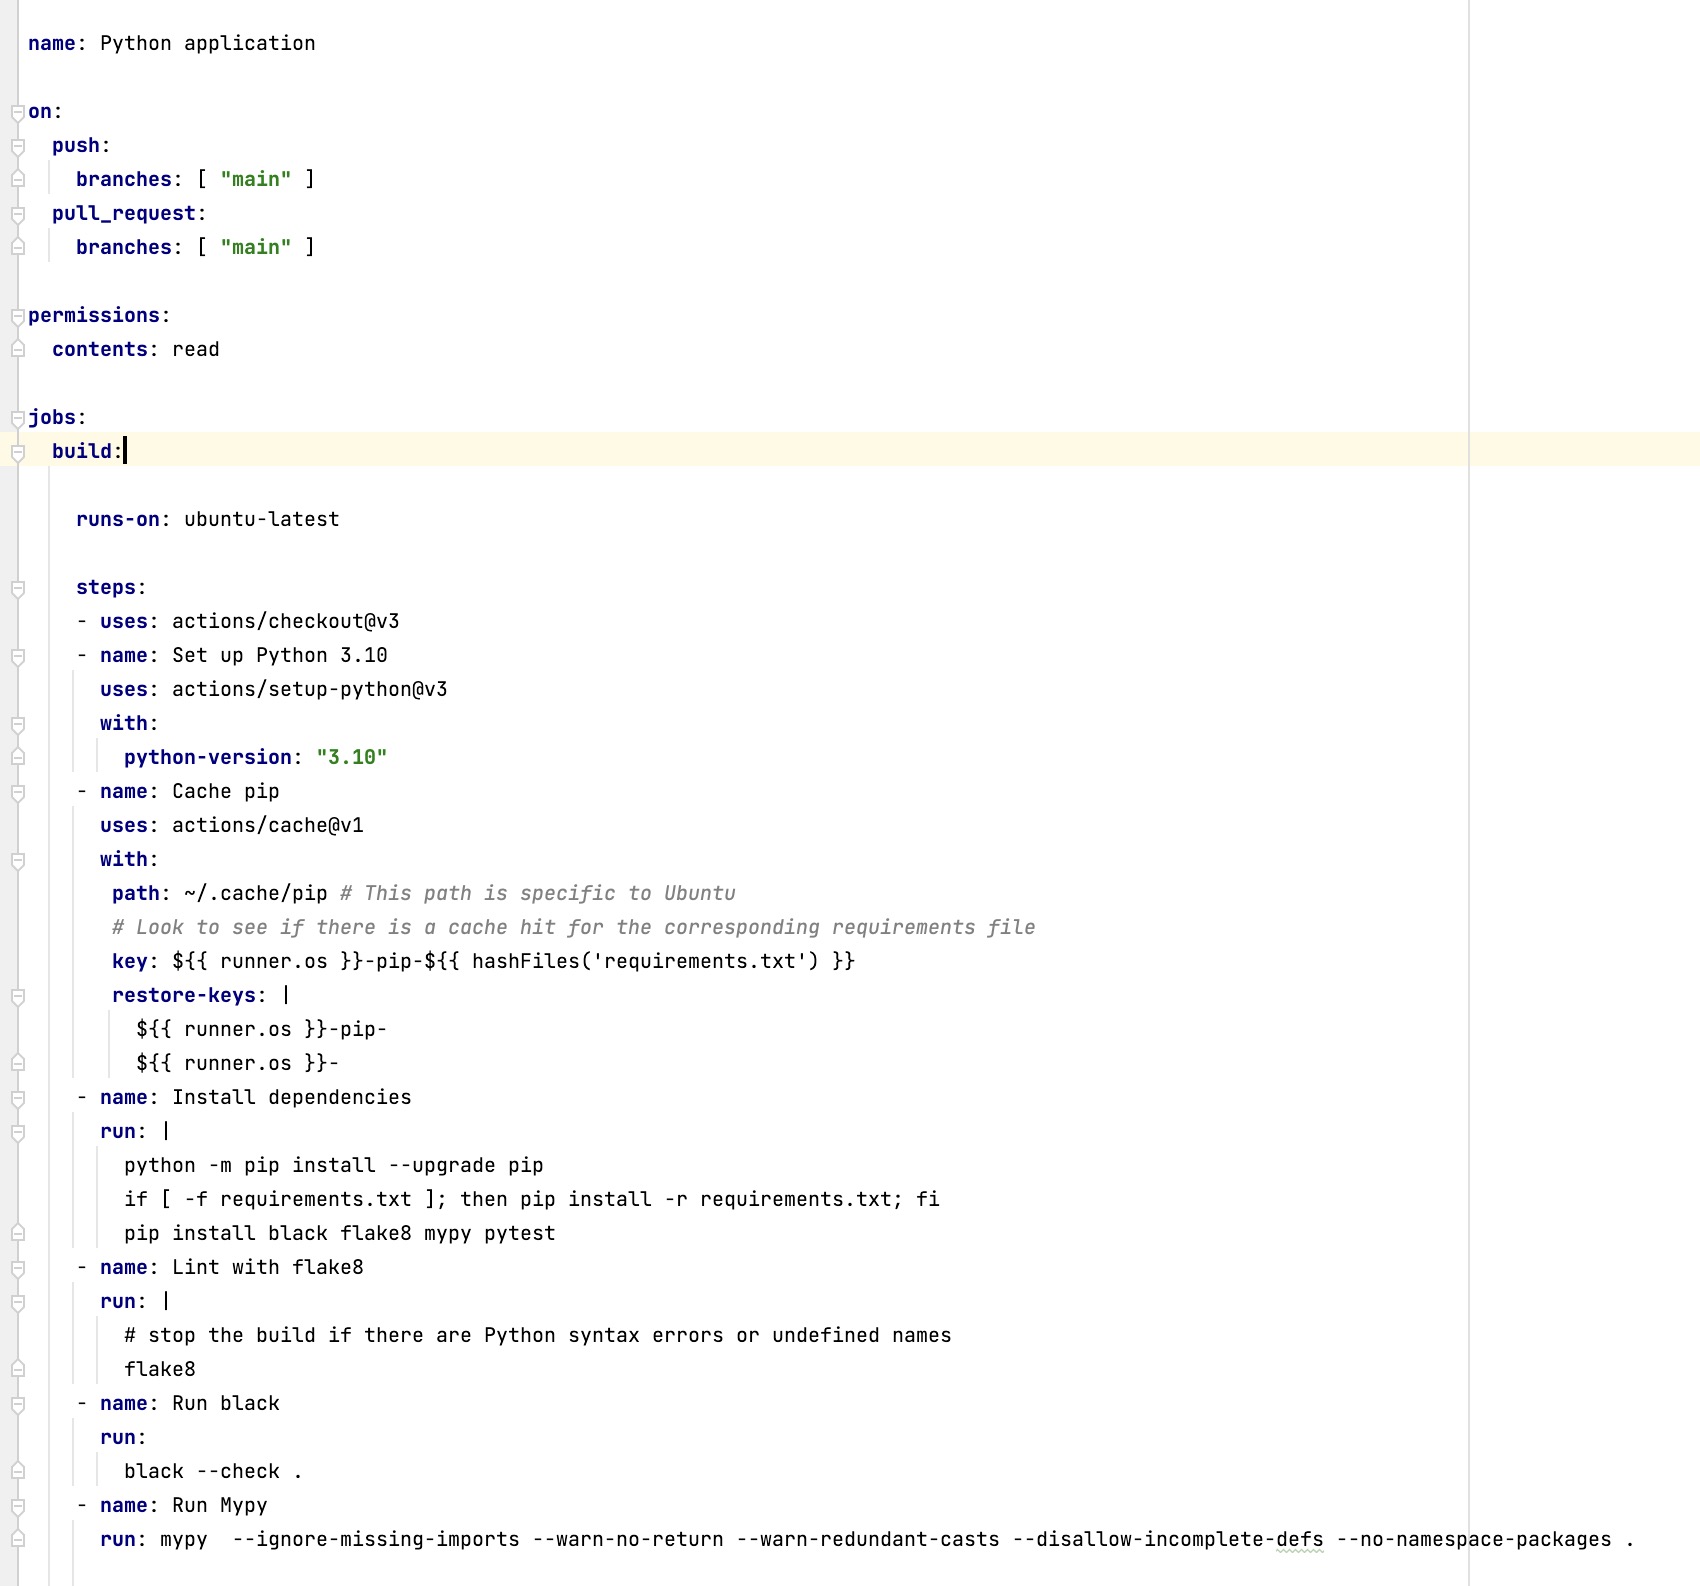
- When PR is created, it triggers deepsource checks as well as a github action with checks;
- When PR is successfully merged main master branch, a github action to update a repo on Hugging Face Spaces triggers;
### A failed style transfer
Initially, I had planned to add an additional feature to the app: the ability to use style transfer to show all 9 other digits drawn in the same style as the one drawn by the user. However, I found that this feature didn’t work as well as I had hoped. I believe that the lack of context and style in the black digits drawn on a white canvas made it difficult to apply style transfer effectively. As a result, I decided not to include this feature in the final version of the app.
Conclusions
Overall, I am satisfied with the outcome of this project. While the model’s predictions are not perfect, they are still accurate enough for the purposes of this app. However, I do plan to retrain the model using new data in the future to further improve its performance.
This project was a valuable and enjoyable learning experience for me, and I hope you found it interesting as well.
Links to more resources:
- Project page on my personal website
- A dataset with the digits and bounding boxes on Kaggle
- Training code
- Blogpost on medium
- Russian blogpost on habr
- Project code on GitHub